
How To Create Consistent Visuals With Recraft
Using the "custom style" feature to craft your unique look.

This post is sponsored by Recraft, who also provided me with a Pro account to test its features. Examples, tips, and opinions are my own.
TL;DR:
Recraft is an AI-powered design tool with a “custom style” feature that lets you upload reference images to generate new designs with a similar aesthetic.
You can further refine your style by adjusting composition, adding text prompts, choosing style presets, and adjusting reference weights.
Recraft helps you create consistent, on-brand visuals, making it suitable for both professionals and beginners.
You can use it for marketing collateral, website assets, illustrations, and other visual content at scale.
I’m no stranger to Recraft.
One year ago, Recraft’s V3 image model even snatched the highest “God” tier in my spelling showdown.
But Recraft is more than a standalone text-to-image model. It’s an entire suite of AI-powered design tools. To wit:
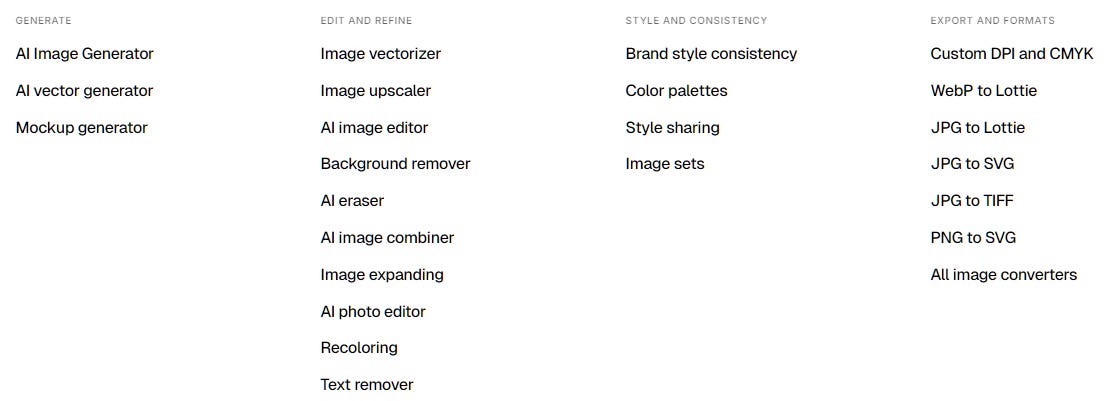
Most of Recraft’s design features strike a balance between being powerful enough for professionals while remaining accessible to the average person like yours truly.
So today, I want to showcase a feature that addresses one of the biggest headaches in AI-assisted brand design: style consistency.
Let’s take a look.
What exactly is the “custom style” feature?
In a nutshell, it’s a way for you to create and save your own style to use for any design elements or visuals you generate in Recraft.
You do this by providing reference images or remixing preset styles into a reusable, consistent look. Here’s a quick explainer:
Having a custom style lets you reliably reproduce a specific aesthetic on demand when generating new images.
For the average user, it’s an easy way to create a consistent look for their blog, website, and so on. For professional design teams, this allows them to produce compliant brand assets at scale with less manual work.
But how exactly do you use this feature?
How to use the “custom styles” feature
The above video from Recraft already gives a solid intro, but there are even more ways to customize each style and adapt it to your needs.
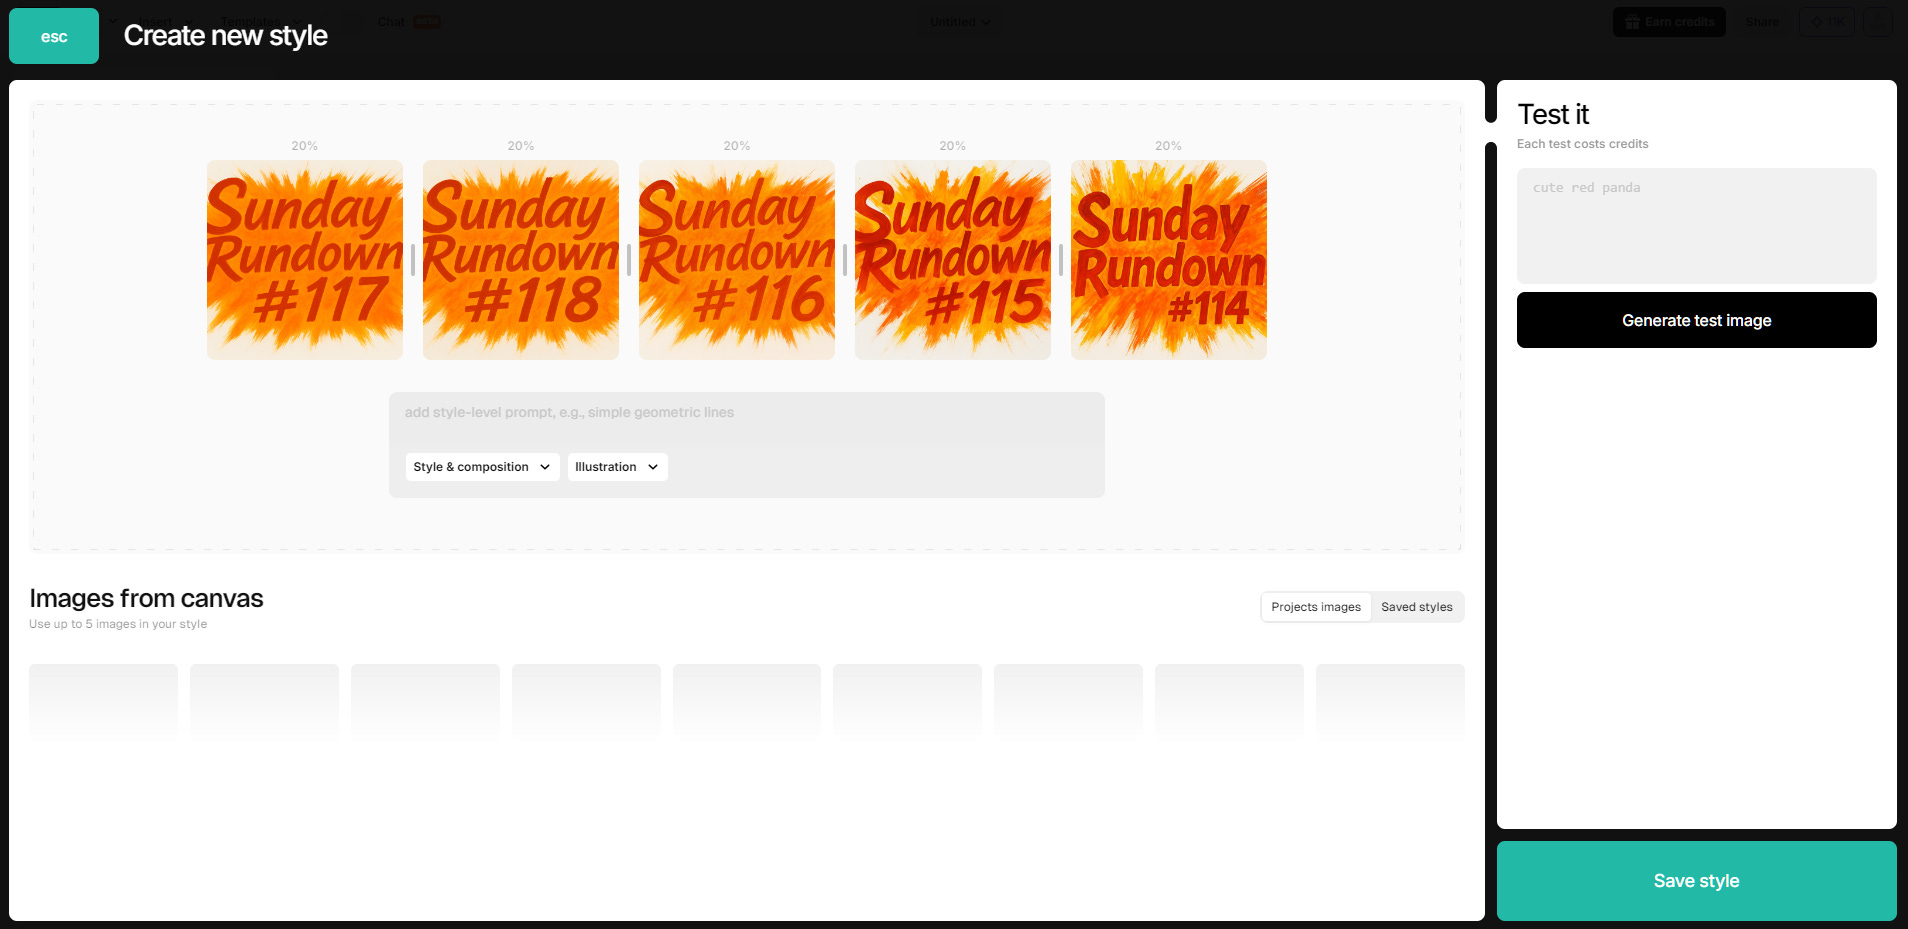
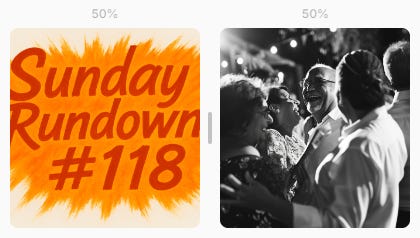
Let me show you how it works using the only sort-of-consistent asset I have: My featured images for the Sunday Rundown segment:
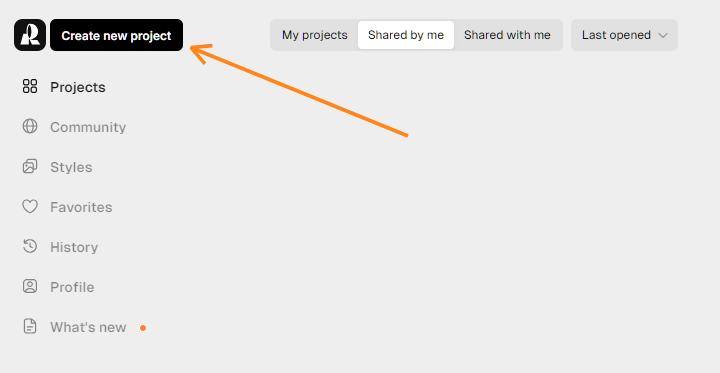
When you first log in, you’ll want to click “Create new project” to do just that:
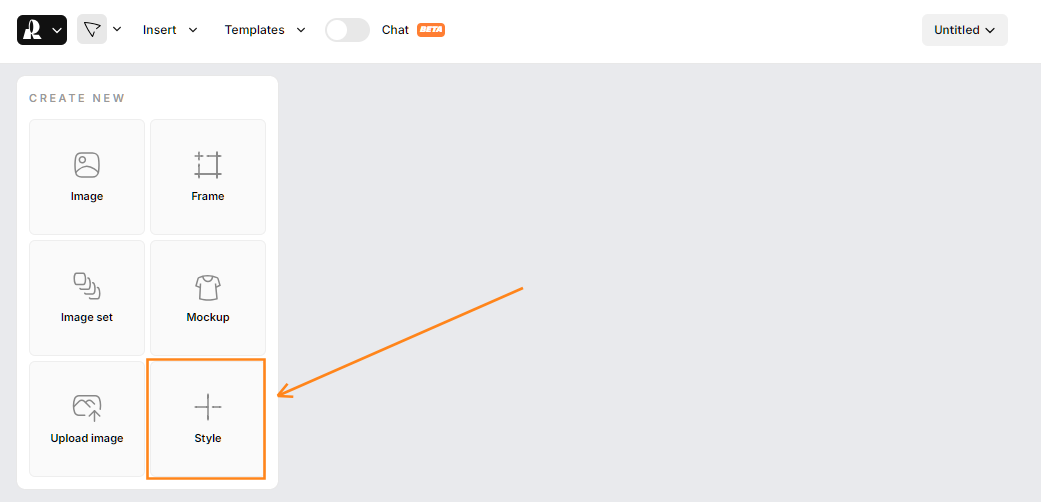
Inside your new project, hit the “Style” icon:
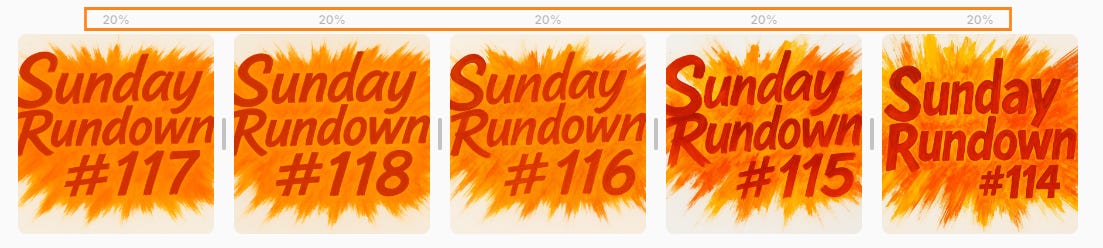
You will now be able to upload up to five reference images. In my case, I’ll simply use the last five “Sunday Rundown” featured images:
In principle, you can stop there.
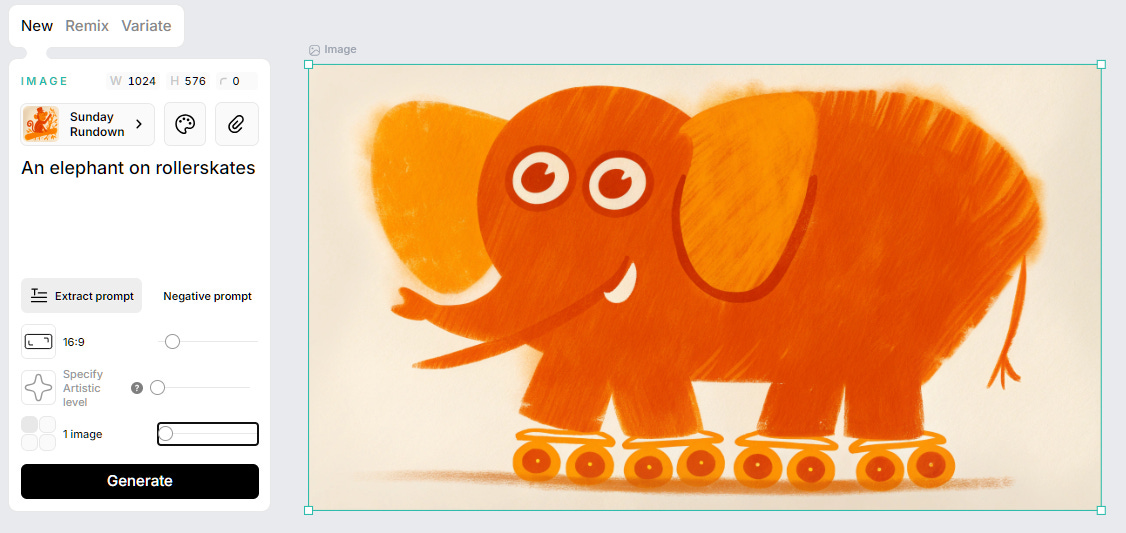
Recraft will now extract the essence from your reference images and try to mimic the style whenever you create new visuals, like so:
See how Recraft faithfully replicates the style and compositional elements, including text? But Recraft gives you even more control if you need it. Here are all the ways you can further customize your style:
1. Composition: Include or exclude?
Just below the five uploaded images, you’ll find a text prompt field with two dropdowns, one of which relates to how strongly we want to mimic our references:
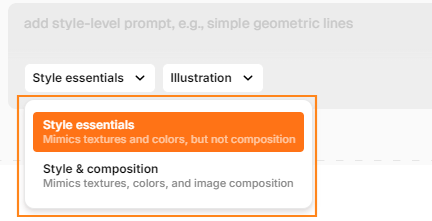
Style & composition will stick strictly to the reference style, borrowing its layout, camera angle, and other compositional elements.
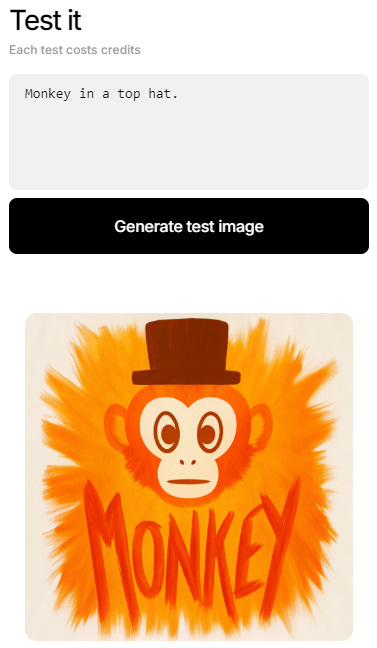
Remember how my first test image placed the monkey in the middle of the orange splash and spelled out the word “Monkey” at the bottom, exactly as my “Sunday Rundown” images do?
That’s because Style & composition was on by default.
Now watch what happens if we relax this a bit by picking Style essentials, which only focuses on colors and textures:

The image still clearly borrows our referenced color palette and brush strokes, but it no longer insists on overlaying the subject onto a central splash and adding text.
So decide how strongly you want your references to “bleed” into your future visuals, and choose accordingly.
2. Add an optional text prompt
Let’s return to the prompt field itself. Here, you can write any additional aesthetic cues you want Recraft to apply to your custom style. It can be a single word or a detailed style description.
Use this with caution: Whatever you type into this box will be silently added to any future prompt you use to generate new images.
Let’s try having the word “mosaic” added to our prompts by default.

Now let’s see what happens when we ask for “Monkey in a top hat” again:

Success. Recraft has merged our reference style with the “mosaic” keyword.
Pro tip: I find that baked-in text prompts work better if you first select the “Style essentials” option (see above), because it’s less restrictive and allows Recraft to respond more readily to your written directions.
3. Pick a style preset
Next to the first dropdown is another one with four style presets:

Recraft will automatically pick the most appropriate preset based on your reference images.1 But you can try to manually override this by selecting a different preset for Recraft to apply.
Pro tip: Try to avoid a disconnect between your reference images and the style preset you request. To see why, let’s look at what happens when I pick the three other presets for our “Sunday Rundown” style, instead of the default “Illustration”:


The “Vector art” and “vector icon” styles work fine. But it’s hard for Recraft to reconcile my five reference images—which are all cartoonish flat illustrations—with my request for “Photorealism.”
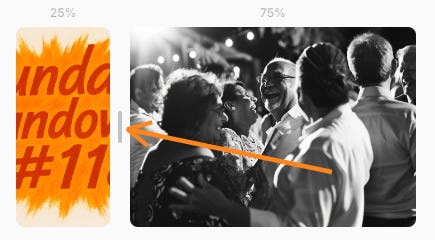
4. Adjust the reference weights
By default, Recraft treats all reference images the same when creating your custom style. Note how each of my five uploads is given a weight of 20%:
But let’s say I’m trying to create a custom style from two very different inputs:
If I leave the default weight of 50% for each image, Recraft will try to strike a balance:

But I can move the slider to assign more weight to the B&W photo image:
This makes our style lean heavily towards photography:

In combination, these four methods—composition, text prompt, style preset, and style weights—give you granular control over almost every aspect of your custom style.
What you can use custom styles for
When you’re happy with your custom style, hit the green “Save style” button:
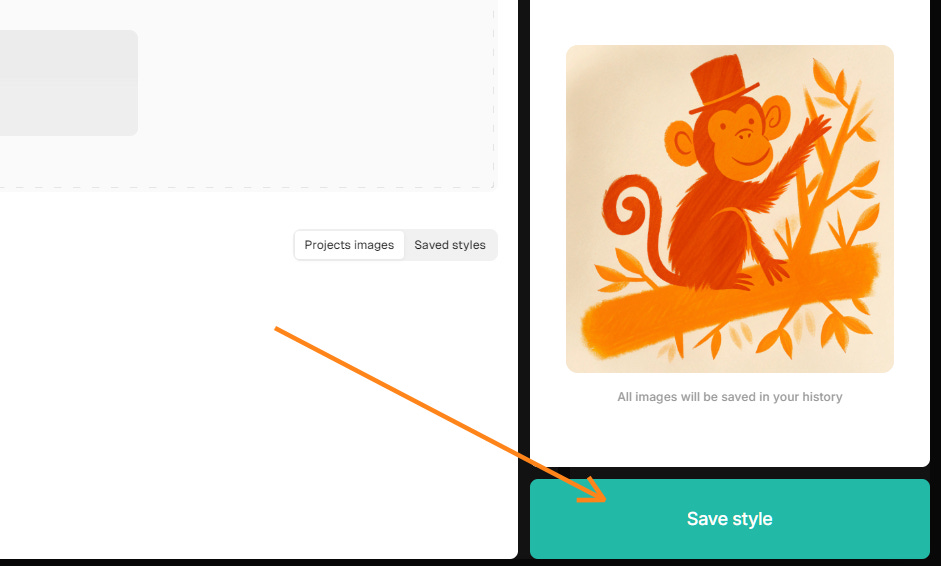
It’ll be saved under “My styles,” and you can select it when generating any future visual in Recraft:
What’s more, you can easily share your new custom style with anyone:
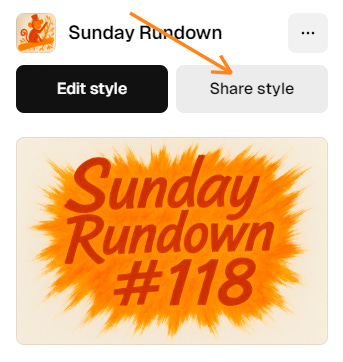
Now your entire team can create consistent designs from the same style template.
For professional designers, this means on-brand asset production at scale.
For dabblers like me, Recraft helps us get visual consistency with less effort.
Here are just some of the possible use cases for Recraft’s custom style feature:
On-brand marketing collateral
Branded website assets
Consistent visuals for presentations and slide decks
Illustrations for storybooks, comics, graphic novels, etc.
Thumbnail templates for YouTube, podcasts, and so on
…and much more
How do you see yourself using the feature?
🫵 Over to you…
Are you already a fan of Recraft? What’s your go-to Recraft feature, if any?
Leave a comment or drop me a line at whytryai@substack.com.
Thanks for reading!
If you enjoy my writing, here’s how you can help:
❤️Like this post if it resonates with you.
🔄Share it to help others discover this newsletter.
🗣️Comment below—I love hearing your opinions.
Why Try AI is a passion project, and I’m grateful to anyone who helps keep it going. If you’d like to support my work and unlock cool perks, consider a paid subscription:
If you upload five photos, it should default to “Photorealism,” and so on.
Excellent!
Thank you