
How to Remix Images With Midjourney V4: Step-By-Step Guide
Midjourney version 4 lets you easily combine two images to create impressive hybrids. Here's a follow-at-home guide to using this "Remix" mode.

It happened at last.
The siren call of Midjourney finally grew too seductive to resist. So I caved and returned to exploring it.
Most of my articles so far have revolved around the Stable Diffusion AI.
But Midjourney recently released an upgraded version of their algorithm. Known as “Midjourney version 4,” it boasts higher-quality image output, better understanding of prompts, and several new features.
Two of these are especially exciting:
Inserting your likeness into AI-generated images
Merging two images to create awesome hybrids
I’ll probably cover the first feature in my next post.
Today, I’ll show you how to use the second feature, known as the “Remix” mode.
What is the “Remix” mode?
The “Remix” mode lets you specify two images, which Midjourney then combines in impressively seamless ways. Like this Yoda Kitty:

This Bored Panda gallery has dozens of equally convincing examples.
Impressed? Want to try this out for yourself right now?
You can!
Every new Midjourney user gets some free credits, so there’s really nothing stopping you from checking it out.
Let me walk you through the entire process.
Remixing images: Step-by-step walkthrough
This tutorial is meant for complete AI art beginners.
Never even heard of either Midjourney or Discord before?
No problem—I got you.
(If you’re already using Midjourney, you can skip straight to step 4.)
Let’s go!
Step #1: Sign up for a Discord account
If you don’t already have a Discord account, register one here.

After you fill out the form, you’ll be sent a link to verify your email address.
Then you’re all set!
Step #2: Join the Midjourney Discord server
The easiest way to do so is by visiting Midjourney.com and clicking the “Join the Beta” button:

Alternatively, you can also search for the Midjourney server directly from Discord via the “Explore Public Servers” option on the left:

After you join Midjourney, you should see their little sailboat icon on the left:

Step #3: Pick a “newbies” room
Everyone starts out as a newcomer and gets about 25 free generations to play around with. (Read more about getting started.)
So pick a “newbies” room. Any “newbies” room:

Once you enter a room, you’ll likely see a wall of images and prompts from other users. You can explore these for inspiration later.
For now, you’re interested in the chat bar at the very bottom. This one:

That’s where you message the Midjourney bot to execute all sorts of commands.
Step #4: Enable the “Remix” mode via settings
Enter the settings menu by typing “/settings” in the chat and pressing Enter:

After a brief moment, the bot will message you with a screen like this:

To set up remixing, click on the following buttons:
“Remix mode”
“MJ version 4”
Leave everything else as is for now. Your screen should look similar to mine above, with “MJ version 4” and “Remix mode” appearing in green.
Step #5: Prepare the two images you want remixed
For Midjourney to interact with your images, they need to be uploaded to a publicly accessible URL.
If you’re using your own images, you can upload these to sites like Imgur or PostImages.
If you found an image online, you’ll simply need to note its direct URL.
For my demo, I’ll be combining this image of Gollum…

…with this image of Homer Simpson:
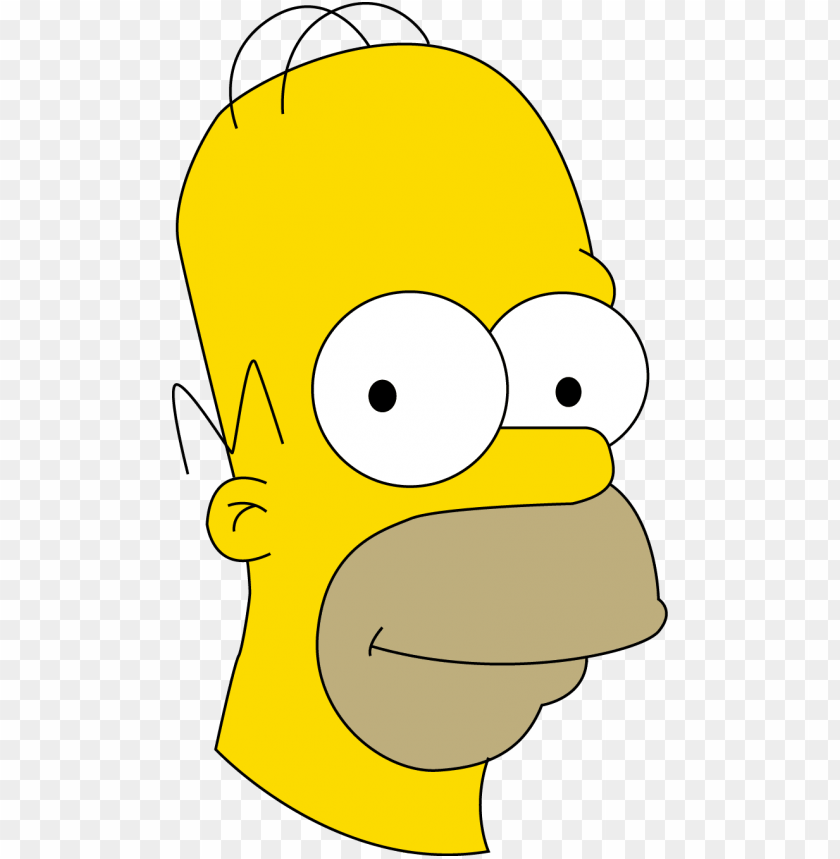

Will the remixed result be an unholy abomination? Only one way to find out…
Step #6: Ask the Midjourney bot to remix your images
Most of the magic on Midjourney happens via the “/imagine” command.
Type that in the chat bar, then press space. This will make the bot ask you for a prompt, like so:

Paste the two image URLs directly into the “prompt” box, separated by a space (this is important!). It should look like this:

Now…press Enter!
Step #7: Enjoy your remixed images
You did it!
After a minute or so, the Midjourney bot will ping you with the result:

Midjourney always generates a grid of four images for any given prompt.
From here on out, you can use the U1—U4 and V1—V4 buttons to upscale or create variations of any of the four images, respectively.
(Consult Midjourney’s Quick Start Guide for more info on those options.)
Step #8: Save your results
If you’re happy with the generated images, make sure to save them.
Click on your four-image grid, then on the tiny “Open original” link in the pop-up that appears:

This will take you to the full-size version of your grid, which you can then save to your computer for further processing, cropping, and so on.
After saving my grid, I cut out my favorite image.
Ladies and gentlemen, I give you…Gollum Simpson:

Handsome, isn’t he?
EDIT 16-01-2023:
In January 2023, Midjourney added a new “/blend” command. It works exactly like the “Remix” mode but saves you several steps. There’s no longer any need to upload images to a public URL. With the “/blend” command, you simply upload them directly into the provided boxes, like so:

The rest of the guide and the outcomes you can expect are largely the same!
Over to you…
I hope this guide was useful and got you to try remixing images with Midjourney. If so, I’d love to see your results.
If you have remixed hybrids to share or other insights about using Midjourney, feel free to drop me an email or leave a comment below.
Now go out there and have fun creating crazy shit with MJ4!
“Why Try AI” is 100% free to read for everyone. There are no content paywalls or other pay-to-access features.
But you can help support my work through an optional paid subscription. It’s like buying me a fancy cup of coffee once a month. If you do, thank you!