
Google Opal: A Beginner's Guide
Opal is the perfect beginner-friendly blend of vibe coding and workflow automation.

Google’s Opal isn’t new.
It came out in late July and made it into my “AI catch-up” post in early August:

But it’s only recently that I finally got around to fiddling with Opal, and it’s quickly growing on me in a way that most other AI-powered app builders haven’t.1
It’s not because Opal is exceptionally powerful or feature-rich.
In some ways, it’s because it’s not.
To me, Opal sits at just the right sweet spot of complexity vs. utility that makes it ideal for beginners who want to dabble with building AI-powered apps and flows.
Now that Opal is available in 160+ countries, this feels like a good time for a closer look at the tool.
Let’s dive in!
What is Opal?
Opal is a hybrid of a limited no-code mini-app builder and light workflow automation:
You ask for an app in natural language:

Opal then chains multiple AI models and other functionality into a visual workflow that fulfills your request. You can also make manual changes by moving the individual nodes, tweaking their content, or adding new ones:

Simple concept, but it works surprisingly well, provided the tool you’re building lends itself well to Opal’s capabilities (see the “Limitations & Workarounds” section).
How to use Opal: the four types of nodes
You access Opal by visiting opal.google and logging in with your Google account.
Once you log in, you’ll see a list of your own apps and a gallery of premade public ones (as a new user, you’ll only see the latter):
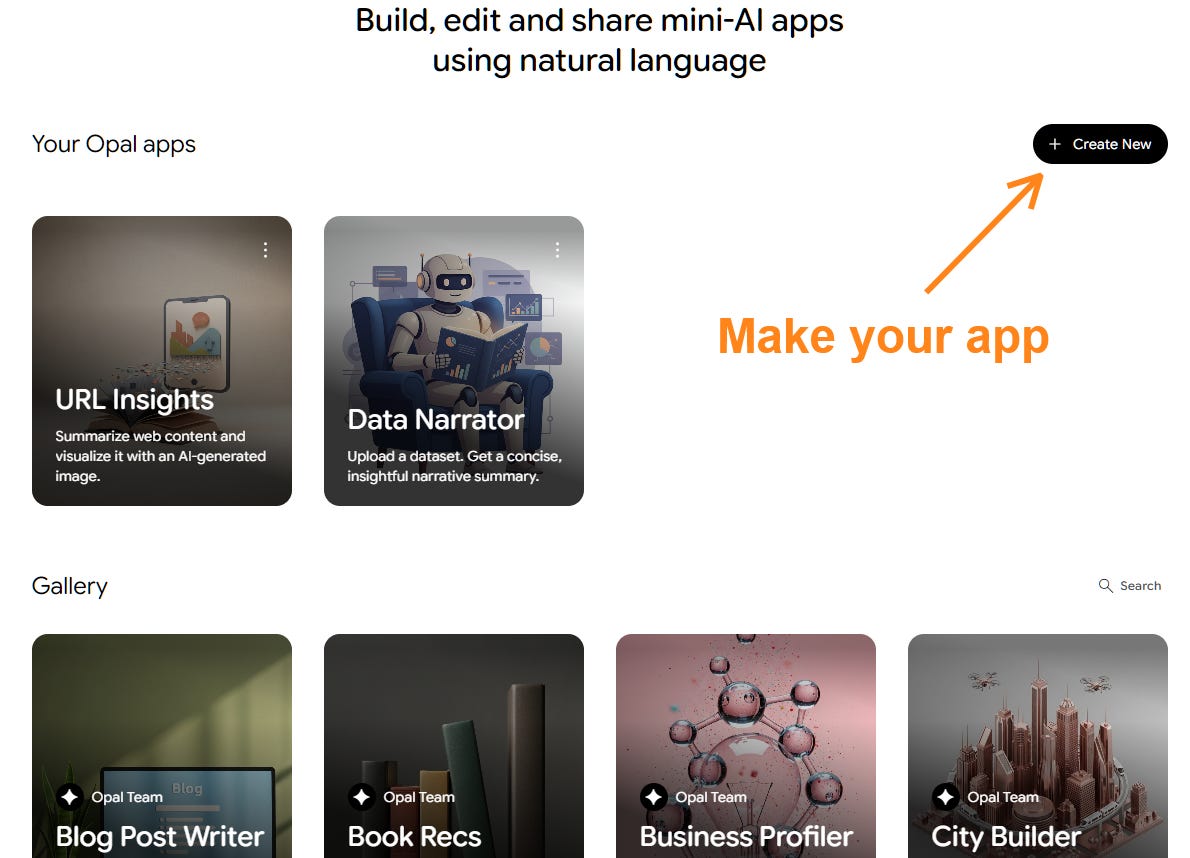
I recommend opening and inspecting an existing app, as it’s a great way to learn the ropes and see how everything works.
When you’re ready, click the “+Create New” button to start building your own app. Here’s a solid walkthrough from Google itself:
Whether you “vibe code” your app by asking Opal to make it or build it from scratch manually, you’ll end up with an editable, node-based workflow.
Nodes are the building blocks of any Opal app:
, Generate (blue), Output (green), and Asset (red)—with orange arrows highlighting each node.")
There are four color-coded types of nodes:
🟨 “User input” nodes (yellow)
🟦 “Generate” nodes (blue)
🟥 “Asset” nodes (red)
🟩 “Output” nodes (green)
The key to understanding Opal is understanding the four nodes and their behavior.
So let’s take a closer look at each of them.
🟨1. “User input” nodes

In principle, you can make a mini-app that doesn’t call for any proactive user input. (In this case, the user would only see a clickable “Start” button.) This could be an inspirational quote generator or a “word of the day” tool—anything with a fully randomized output.
In practice, most Opal apps kick off with some form of user input.
That’s what the “User input” node is for: It tells the user what kind of input they need to provide and in what format. Here are the possible input formats:

Opal apps can have more than one “User input” node.
For instance, your app might be an image generator that turns a photo of the user’s pet and the pet’s name into a fake business card for that pet.2 In that case, “Pet photo” (image) and “Pet name” (text) would be the two “User input” nodes.
Once the user provides the input, Opal feeds that to subsequent “Generate” nodes.
🟦2. “Generate” nodes (blue)

“Generate” nodes are the main engine of Opal. They’re the ones that actually do something with the user’s input, from crawling websites to analyzing content to generating code, images, text, audio, or video. Here are all of the available Google models that can power a “Generate” node:

And here are the tools these nodes can access:

Opal apps usually include several “Generate” nodes that process input from a preceding node and pass new input to the next one. For each of them, you can provide a detailed prompt that tells them how to act.
Here’s a “Generate” node powered by Gemini 2.5 Flash that uses a user-provided URL to crawl that page using the “Get Webpage” tool and extracts its contents:

This webpage content can then be passed on to yet another “Generate” node that summarizes it or turns it into a song or creates an image inspired by it, and so on.
That’s how you can string multiple “Generate” nodes together into complex apps that process inputs, generate outputs, and combine them in different ways.
🟥3. “Asset” nodes (red)

With the “Asset” node, the app maker can provide Opal with a fixed “asset” for the app to reference behind the scenes.
This might be a “Tone of Voice” guide for an article-writing Opal app or a reference image for an app that creates pictures in a certain visual style.
Here’s what can be used as an asset3:

Unlike the yellow “User input” nodes, end users of the app won’t be able to influence the “Asset” nodes in any way. In fact, app users won’t even see these nodes unless they decide to edit or “Remix” the app (see below).
🟩4. “Output” nodes (green)

Finally, we have the “Output” nodes.
That’s what the end users will see at the end of the process, once Opal runs through the entire app workflow.
The main types of outputs are as follows:

You can get Opal to throw the final output into Google Drive as Docs, Slides, or Sheets.
In most cases, you’ll likely want to go with the “Webpage with auto-layout,” which lets Gemini determine the best possible way to present the output in a nicely formatted page.
As with most other nodes, you can prompt how the model should act and which preceding nodes it should pull input from. Here’s an Opal-generated example:

And that’s how Opal works in a nutshell: By cobbling together different nodes to undertake tasks, generate outputs, and display the result to the end user.
Why Opal is great for dabblers
What makes Opal work so well—at least in my opinion—is that it addresses four frustrations I’ve run into when trying to build useful tools with AI as a non-coder.
1. Vibe coding without the mess
The promise of vibe coding is that you can build just about anything, even as a code-illiterate person.
In theory.
But the reality is that unless you’re making yet another Tetris clone, you’ll quickly run into complexity you’re not equipped to handle.
Code will break, errors will pile up, and as you make tweaks to the app, you’ll have less and less understanding of how it all comes together. Even if your app works, you won’t know why and how, or be able to make precise edits without coding knowledge.
Opal solves this by exposing the “engine room” in the form of a visual diagram of nodes that represent specific app steps. You can peek inside each node, figure out what it does, and tweak it directly.

Because these nodes are plug-and-play compatible with each other, your mini-app is transparent, easily tweakable, and less likely to break in unexpected ways.
In short, it just works.
Think of it like creating things with ready-made LEGO blocks vs. a 3D printer. Sure, the 3D printer technically lets you make whatever you want, but good luck learning the process and assembling something that doesn’t collapse under its own weight without prior experience, buddy.
2. Workflow automation made simple(r)
Workflow automation platforms like Make and n8n are fantastic, robust, and capable of building complex flows that pull together hundreds of third-party tools in creative ways to simplify or automate any process.
But let’s face it: For a casual user, the learning curve may feel too steep. You’ll often need to set up third-party logins and API keys, hook features up to your existing accounts, troubleshoot specific node setup, etc.
Opal essentially creates a ready-to-use workflow automation diagram whenever you request an app:

Even as a complete noob, you can look under the hood, see how the nodes work, and learn what makes the whole system tick. There’s even a nifty “Console” view that lets you run each step separately to see exactly what happens when it triggers:

And since every node is powered by an integrated Google model, you won’t have to struggle with gluing incompatible nodes together using API keys, webhooks, and other advanced steps.
In short, Opal helps you get a feel for workflow automation while smoothing out the learning curve.
As you begin to make minor tweaks to each node or add new nodes, you’ll gain more confidence and understanding of the process. Eventually, you might just feel ready to up your game and go for one of the full-featured workflow automation platforms.
3. One-click app sharing
I’ve built a bunch of mini apps with the help of AI over the years. Many ended up as ”Sunday Bonus” tools.
But it took time to figure out how to share such apps with others. I had to discover platforms like Glitch. Then, when Glitch got discontinued, I ended up having to learn Netlify and moving all of my apps there.
This friction was enough of a pain point that I even wrote a beginner-friendly guide to sharing apps with others.
Now, here’s how you share an Opal app (it’s tricky, so see if you can follow):
Yup, that’s it!
If you’ve ever shared a Google Sheet/Slides/Doc link with someone, you already know how to share an Opal app.
All they have to do is log in with their own Google account. Since everything’s hosted by Google and powered by its own models, your app will work for your users in exactly the same way as it does for you.
Which brings me to…
4. AI baked in
There are precious few tools that let you build AI-powered apps that are:
Free to use
Don’t require third-party API keys
The two I know of are Glif and Claude’s Artifacts.
Now, Opal joins their ranks as an app builder with AI integrated into the flow by default. Everything runs on Google’s own generative AI models, and it doesn’t cost you or your end users anything to run the resulting mini-apps.
So if you’ve been hearing all the chatter around vibe coding and thinking of giving it a shot, now’s a great time to take the plunge. Opal is as close as it gets to being the perfect entry point into no-code app building.
Limitations & workarounds
I don’t want to sound like a zealot or a blind fanboy.
Because, yes: Opal has its rough edges.
Let me share a few of its limitations and some ways to work around those.