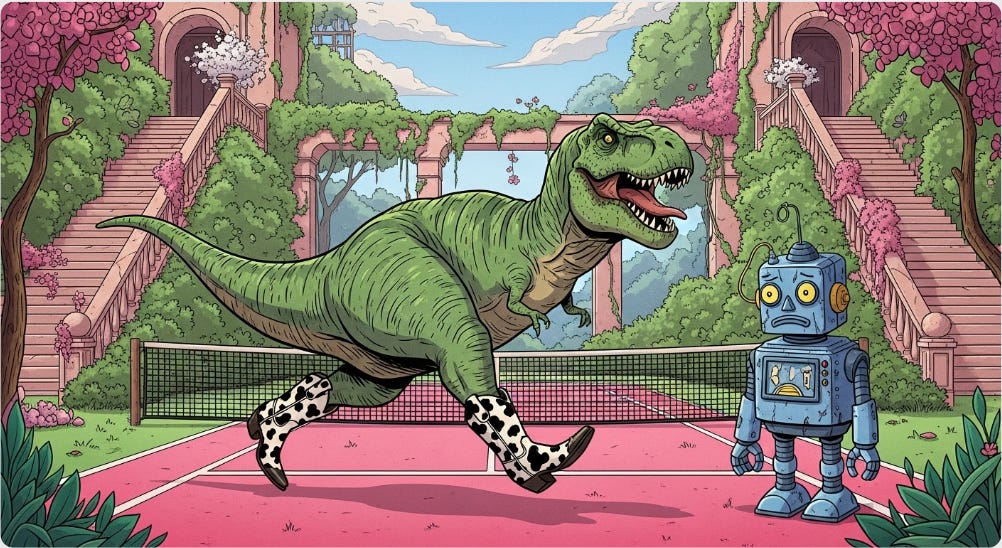
Beginner's Guide to Google Whisk
How does Whisk work and what can you do with it?
Howdy, AI visioneers!
It’s the last Thursday of the month, which was traditionally dedicated to new Midjourney terms but has evolved into broader visual explorations.
Today, I wanted to play with a tool that’s been kicking around for half a year but didn’t exactly make waves: Google’s experimental, funky image-mixing platform, Whisk.
Whisk launched in late December 2024.
But three relatively recent developments have made it worth revisiting now:
February 2025: Whisk expanded to 100+ countries.
April 2025: We got the ability to animate images with Veo 2.
May 2025: Whisk switched to using the much-improved Imagen 4 image model.
So Whisk is now both more widely available and more powerful.
Let’s see what you can do with it!
What is Whisk?
In short, Whisk lets you blend uploaded images in different ways by using them as subject, scene, or style references. Here:
As of April, you can also bring these images to life by animating them using Veo 21:
At the time of writing, Whisk is available in the following countries:

The list for the “Animate” feature is shorter:

But, as with most things in AI, you can circumvent country restrictions with a VPN. I’m using my go-to NordVPN (affiliate link) for this post.
How do you use it?
Head to labs.google/fx/tools/whisk and log in with your Google account.
You’ll see a minimalist interface below, which has two main components:
A left-side column for uploading your image references (subject, scene, and style)
A classic text prompt box at the bottom (with aspect ratio settings)
At this point, you can mix and match the above elements in any combination, and this flexibility is exactly what makes Whisk a whole lot of fun to play with!
Let’s look at the many ways you can use Whisk.
Types of prompting in Whisk
You can prompt Whisk using:
Text only
Image reference(s) only
A hybrid of text prompt and image references
1. Text-to-image prompting
This should be familiar to any readers who have used a text-to-image model before.
You describe what you want in the text box, and Whisk spits out an image based on that.
Let’s try the following prompt:
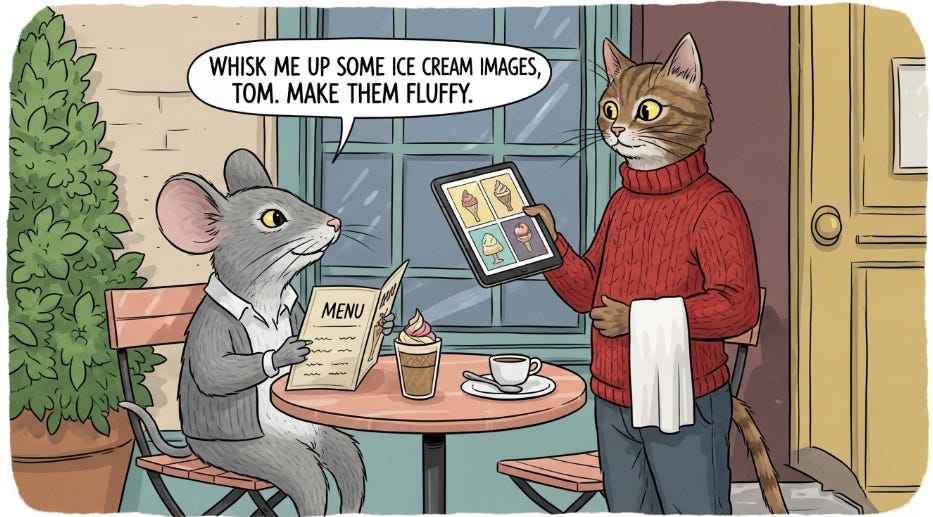
Cartoon image of a mouse sitting at an outdoor bistro table holding a menu. The mouse looks up from the menu and says, "Whisk me up some ice cream images, Tom. Make them fluffy!" The waiter is a cat in a red sweater, standing next to the table and holding a tablet with pictures of ice cream on it.
Here’s how that looks in Whisk:
Optionally, you can adjust the aspect ratio by clicking the middle “screen” icon:
We’ll go with 16:9 for that widescreen look.
Here’s one of the results:
See? Simples!
2. Image mixing
This is kind of like no-prompt prompting…but for images!
Expand the left-side column to reveal the three image reference spots:
For each of these, you can either add a text description, upload your own reference image, or click the “die” icon at the top to get a random preset image from Google2:
I rolled the dice for all three and ended up with:
Subject: Sad blue robot
Scene: Cafe on a snowy cliff
Style: Colorful geometric shapes
At this point, it’s a simple matter of clicking the Submit button without providing any additional text prompt:
Whisk gets to work and spits out some images (two images at a time):
If you’ve never prompted image models before, this is the easiest and fastest way to experiment: Simply whisk a bunch of images together and see what happens!
We sure have moved on from the early days of “splatterprompting” and endless walls of text descriptors, haven’t we?
3. Text + image prompting
Finally, you can combine the two options to have more control over the output.
Let’s keep our three reference images and add the following text prompt:
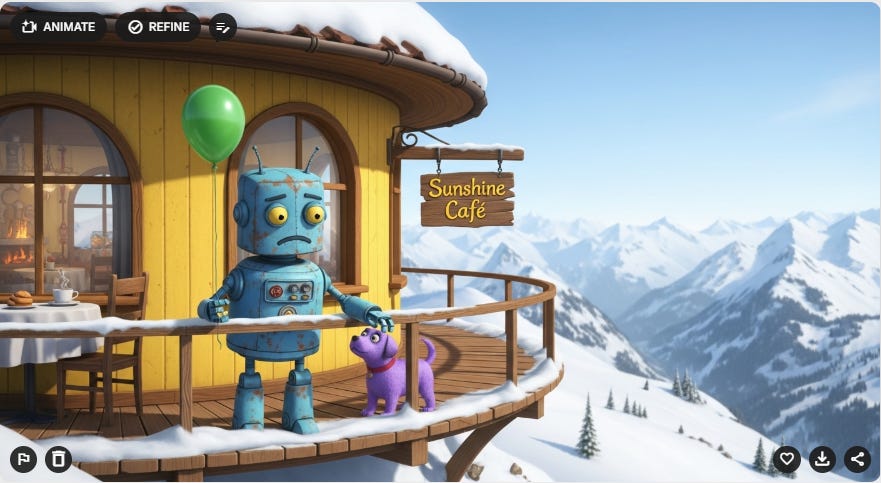
The robot is holding a green ballon and talking to a purple dog
Here’s how that might look:
Great!
Our scene and subject references still act as visual anchors3, but the text prompt lets us add new details.
Feature overview
Here are a few more things you can do in Whisk.
1. Use preset styles
This feature is a bit tucked away in the top-left hamburger menu:
Click that, and you’ll see a Load Template dropdown:
This lets you pick from a few ready-made presets:
While this sounds rather advanced, “templates” are basically just glorified style reference images. For instance, picking “Sticker” populates the style reference box with a reference image of a cat sticker…and that’s about it:
It’s nice to have a few reliable styles to pick from, but I wish there was a way to save your own presets like with Sora for GPT-4o images.
2. Refine an image
When you hover over a finished image in Whisk, you’ll see buttons that let you flag, delete, download, like, or share a generation at the bottom:
At the top, there are a few action buttons, including Refine:
Clicking it brings up a new prompt box, but instead of having to prompt your entire scene from scratch, it lets you describe the changes you’d like to make:
After I asked for a red balloon, here’s what I got:
Note that the two images are similar but not identical.
That’s because Whisk doesn’t simply modify targeted areas.
Instead, it regenerates the entire image with requested changes while sticking closely to the original layout and description.
3. Animate an image
Now it’s time for the good stuff: Using Veo 2 to animate your images.
Click the Animate button at the top to bring up a text box, then describe the action:
After a while, your image comes to life:
Man, that balloon sure took its sweet time before finally flying off, but we did get what we asked for!
Note: Whisk gives you 10 free Veo 2 generations per month. Use them sparingly.
4. Share and remix creations
Finally, you can share a creation with others and let them tweak it.
Simply click the Share button in the bottom-right corner:
This creates a shareable link for others to use:
When you send a link to someone, they’ll not only see your original image but also a Make Your Own button to remix it:
The process works like the Refine button above and lets anyone request tweaks.
Want to try remixing my robot? You can do that right here:
Bonus tips and tricks
Here are two things you can do in Whisk that are somewhat hidden.
1. View and tweak the underlying prompt
Unlike AI tools that use image references directly, Whisk converts all the text prompts and image references into a longer text prompt under the hood.
You don’t see this prompt by default, but let me show you how to view it and modify it to your liking.
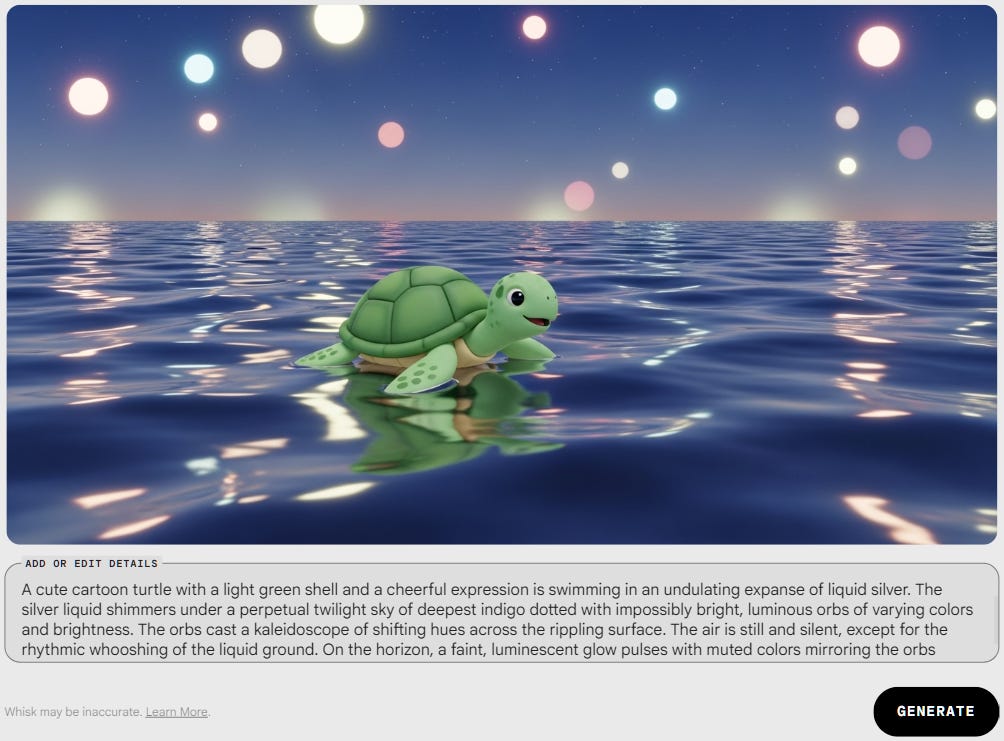
Let’s first create an image of a turtle swimming in the ocean by combining a scene reference of an ocean and a short text prompt:
Cute cartoon turtle swimming
Now, when you hover over an image, next to the Animate and Refine buttons, there’s this understated “notepad” icon:
Clicking the icon zeros in on the image and displays the text prompt Whisk used to create it:
Note: You can also bring up this prompt view by clicking on the image itself.
The prompt appears to be grayed out and fixed, but you can actually click right into it and make changes:
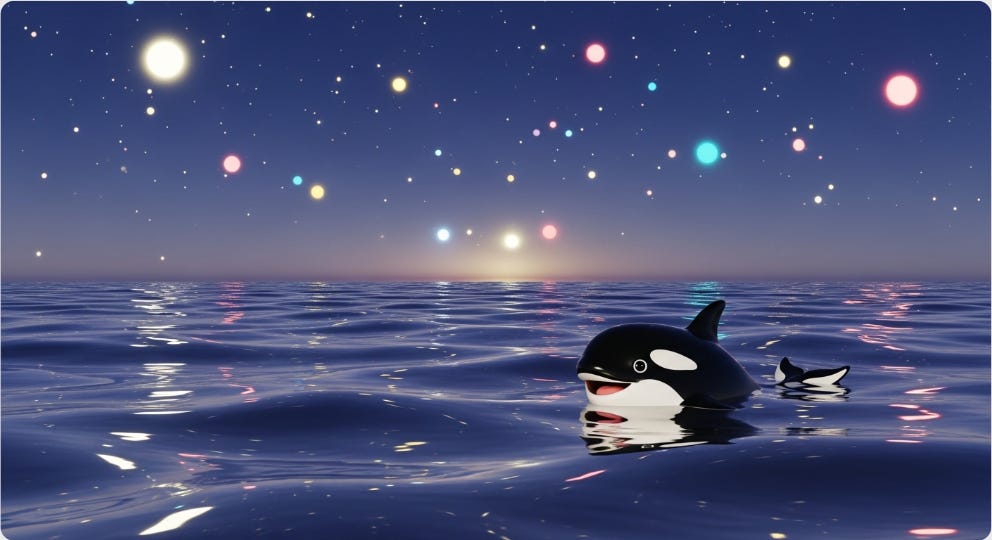
Let’s change our turtle to an orca while keeping everything else as is:
Now we click Generate and see what happens:
Pretty neat!
2. Blend multiple subjects
Did you know that you’re not limited to just one subject reference?
Above the “Subject” box, there’s a little “+” icon.
Clicking it adds new “Subject” boxes. Let’s add two more:
Now, we’ll use the “die” icon to populate the three boxes with reference images of a dino, our blue robot, and a fancy teacup:
We won’t add any scene or style reference images, but we’ll write a short guiding prompt:
Cartoon dino and robot drink tea in a park
Let’s take a look at the result:
That worked!
You can also use this in combination with scene and/or style references, like so:
Let’s run it without an additional text prompt and see what happens:
That worked, too!
But I discovered a few caveats to this functionality that I’d like to share with you:
Max 8 references in total: You can’t submit more than 8 reference images. Doing so will throw up this error:
Max one style or scene reference: You can blend multiple subjects but only add a single scene or style reference when submitting a prompt.4
More than 4 subject references = unreliable results: In theory, you can add up to 8 subject reference images if you don’t use a style or scene references. In practice, I found that Whisk struggles to consistently render more than four subjects at a time.5
So keep the above limitations in mind and use Whisk more as a tool for fun and inspiration than for creating controllable, polished end products.
🫵 Over to you…
Have you used Whisk before? What do you think of it? If you have some Whisk tips and tricks to share, I’m all ears!
Leave a comment or drop me a line at whytryai@substack.com.
Thanks for reading!
If you enjoy my writing, here’s how you can help:
❤️Like this post if it resonates with you.
🔄Share it to help others discover this newsletter.
🗣️Comment below—I love hearing your opinions.
Why Try AI is a passion project, and I’m grateful to those who help keep it going. If you’d like to support my work and unlock cool perks, consider a paid subscription:
“God tier” in my recent review of free image-to-video models.
All reference boxes are optional. You can add a subject and a style without a scene, or a scene and a subject with no style, or….well, you get it.
Note that the style reference isn’t as prominent in this image. Longer prompts may dilute the impact of certain elements.
Whisk lets you add multiple “Scene” and “Style” boxes, but you can only tick one of them at a time when submitting a prompt to generate the image.
I once succeeded in getting 6 subjects into a scene, but anything over 4 is usually a gamble and requires multiple rerolls.


