
Tripo AI's New HD Model: Tested & Reviewed
Tripo's HD V3.1 model promises production-ready 3D assets. I test it with three photos.

I’ve been on a bit of a hands-on testing spree lately:
I’m basically working my way through just about every creative medium.
So when Tripo AI reached out to hear if I’d like to—quite literally—add an extra dimension to my testing with their new high-detail 3D model, I said “Yup!”
Let’s find out how the model fared in my tests.
What does the new 3D model do?

The model is called HD Model V3.1 (I know, catchy!).
It’s Tripo’s latest high-fidelity offering, designed to generate production-quality 3D assets from text or image inputs without sacrificing visual detail.
Unlike concept and prototype models that generate work-in-progress 3D meshes, this one is supposed to spit out ready-to-use, polished outputs.
This means the model should, at least in theory, create 3D assets that are sharp, detailed, and hold up under zoom. There’s even a PBR (or “physically based rendering”) option that makes the 3D assets accurately respond to lighting conditions, but fully explaining that particular rabbit hole is above my pay grade.
Now let’s review the V3.1 model and see how it holds up in practice at making faithful 3D representations of 2D images.
The three image-to-3D tests
To keep this image-to-3D model review grounded, I will test three real photos taken on my Google Pixel 8.
In all cases, I first rendered a multi-view grid, which is why the exact pose may not always match (see below for the “multi-view” explainer). I then generated the final 3D asset at “Ultra” quality setting and with “PBR” toggled on.
As a point of comparison, I’ll run the same images through Microsoft’s Copilot 3D, which is the most well-known free mainstream alternative.
I’ll share a direct link to the results so you can view and rotate the asset yourself.
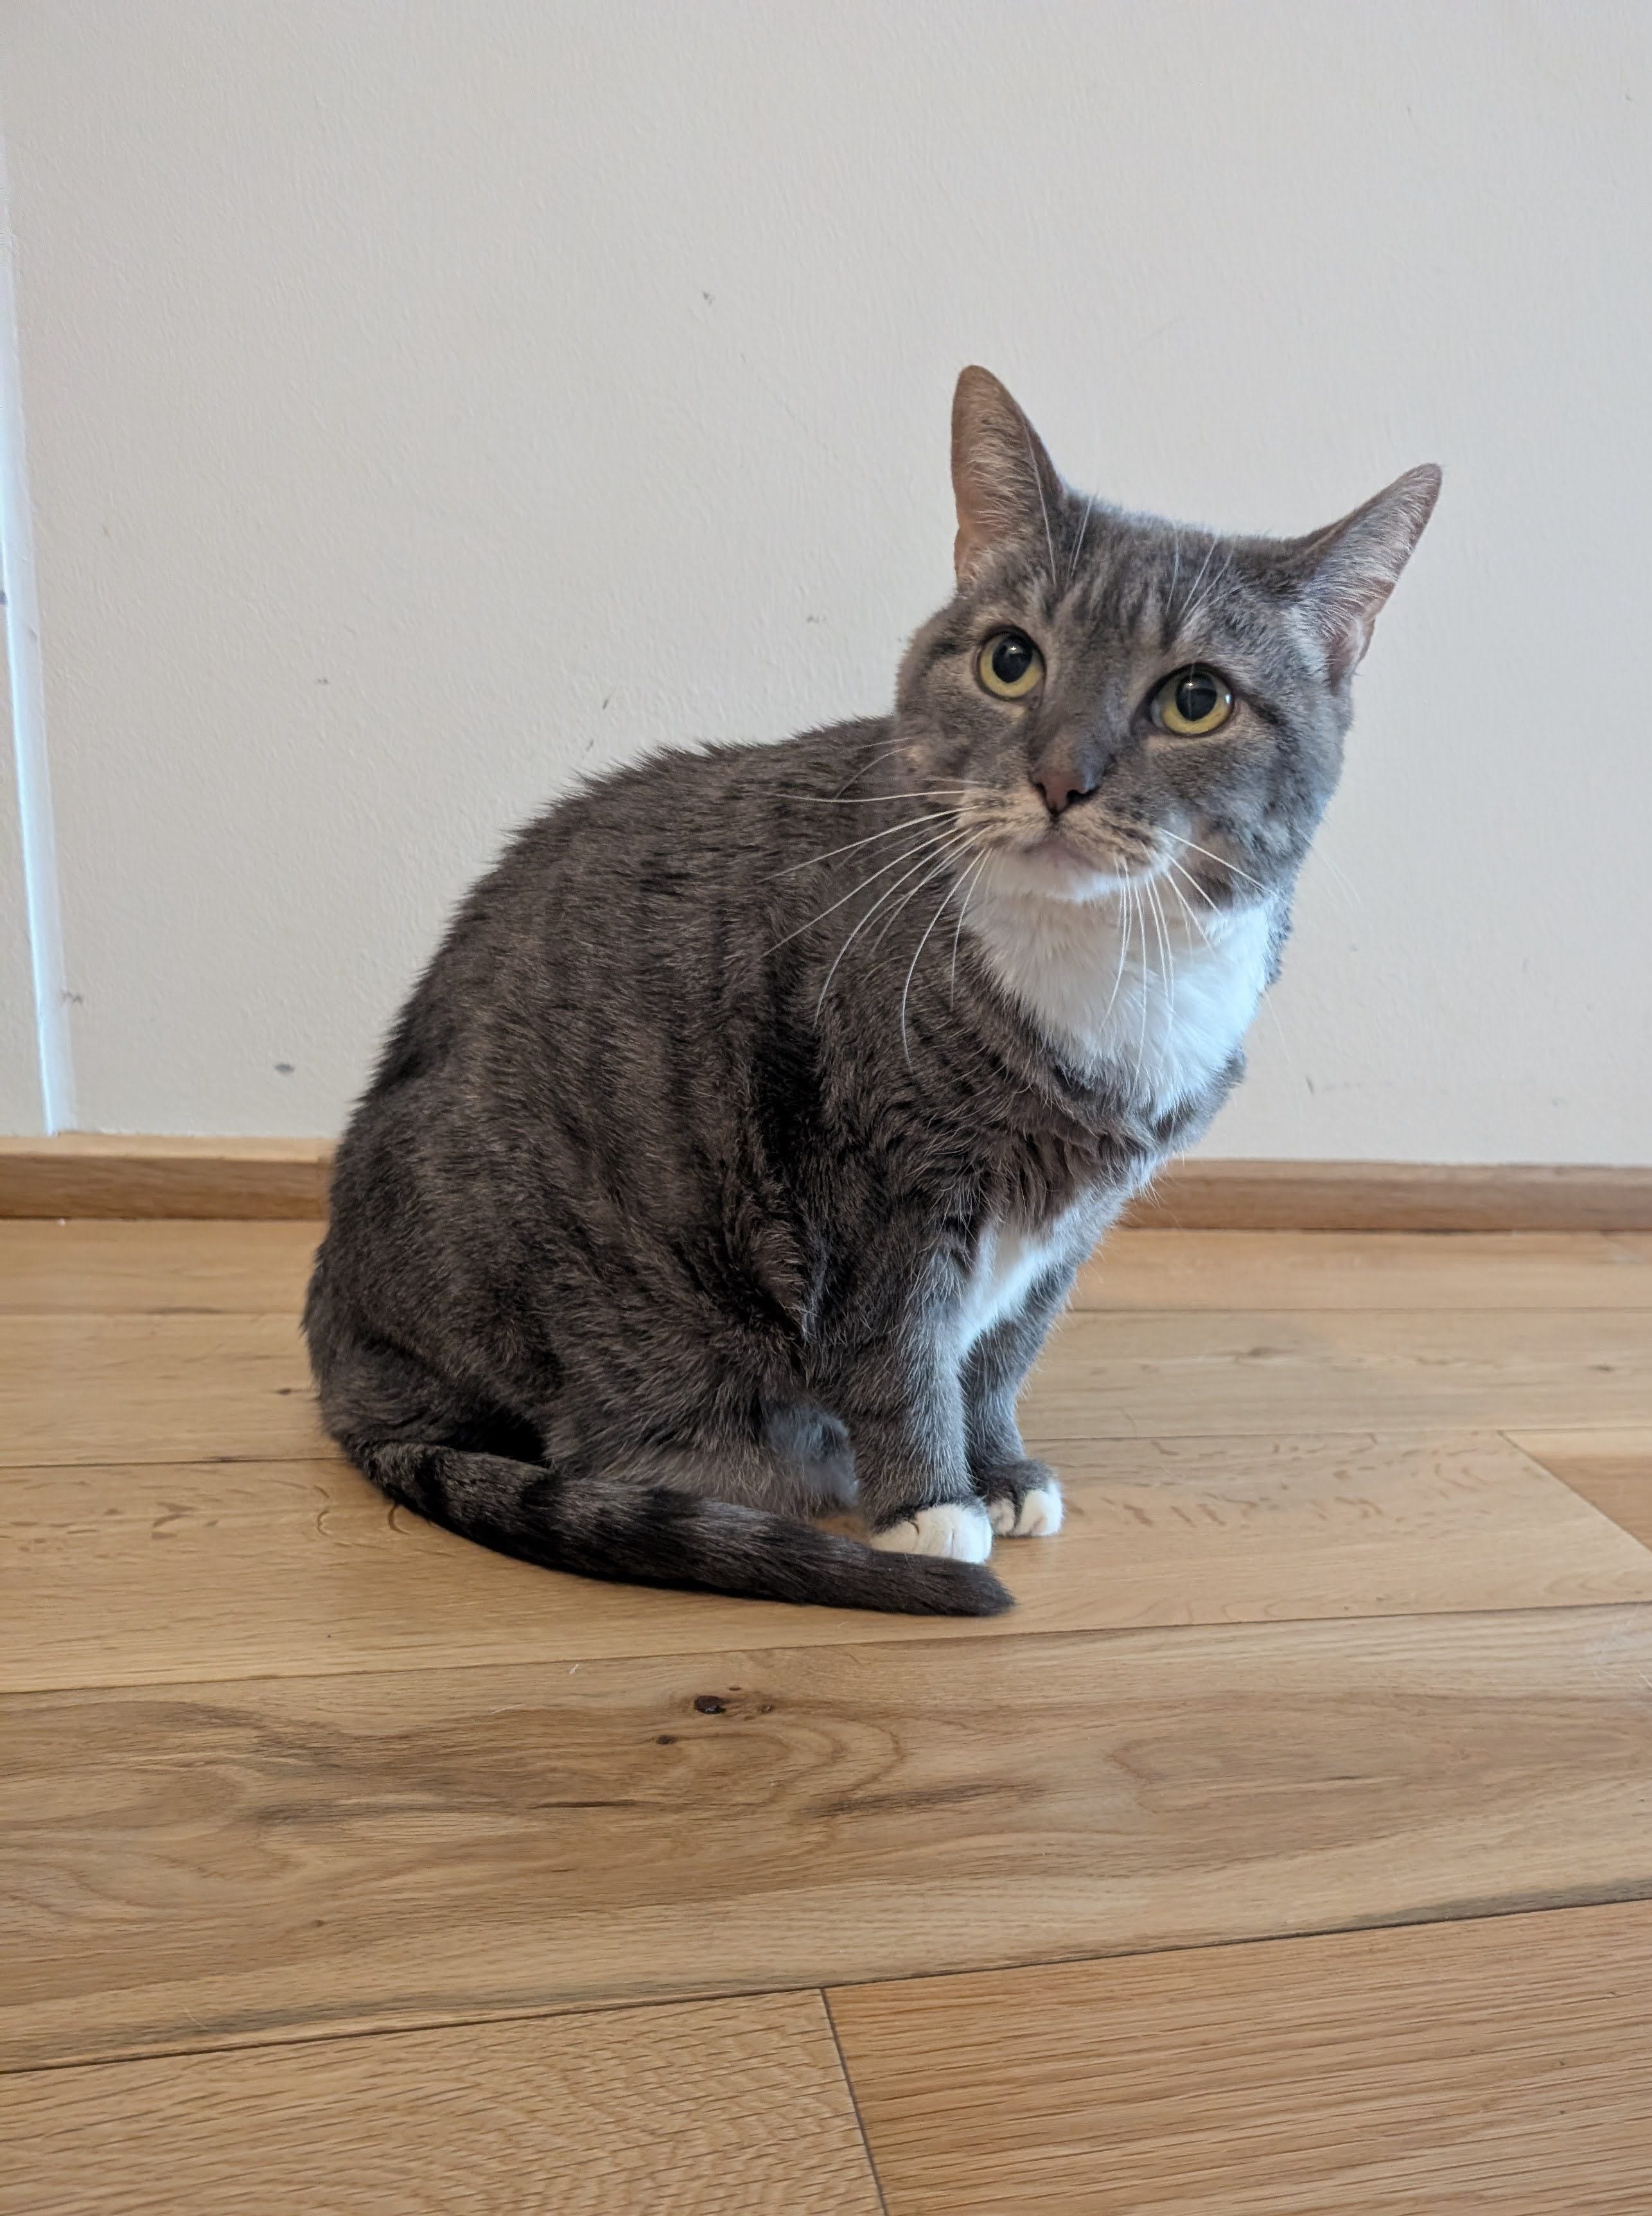
Test 1: My cat Pebbles
I have two cats. One of them is Pebbles. Here she is:
Reference image:
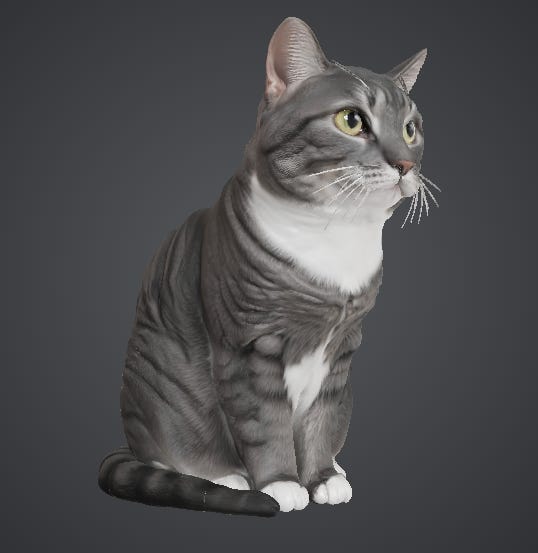
Final 3D asset:
To view, zoom, and rotate the finished 3D render, here you go:
Tripo vs. Copilot:


To explore Copilot’s 3D render on your own, follow this link.
Verdict:
That’s pretty great.
I’m even willing to forgive the model for trimming Pebbles’s magnificent whiskers. I dig how Tripo fills in the blanks for angles that aren’t in the photo, like the back:
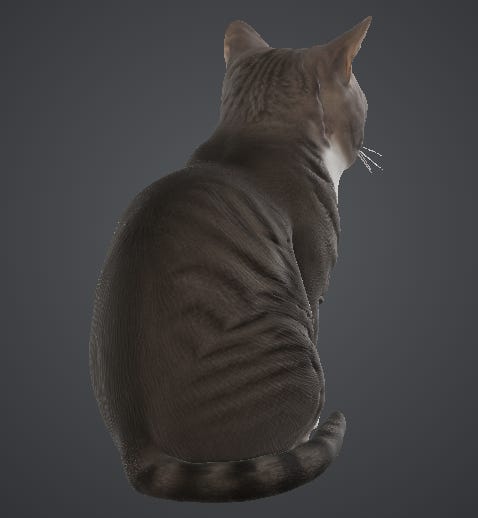
The model clearly “understands” what a cat looks like from unseen angles, which does a lot of heavy lifting behind the scenes. The fur texture holds up very well under zoom, so you see individual stripe patterns instead of a blur.
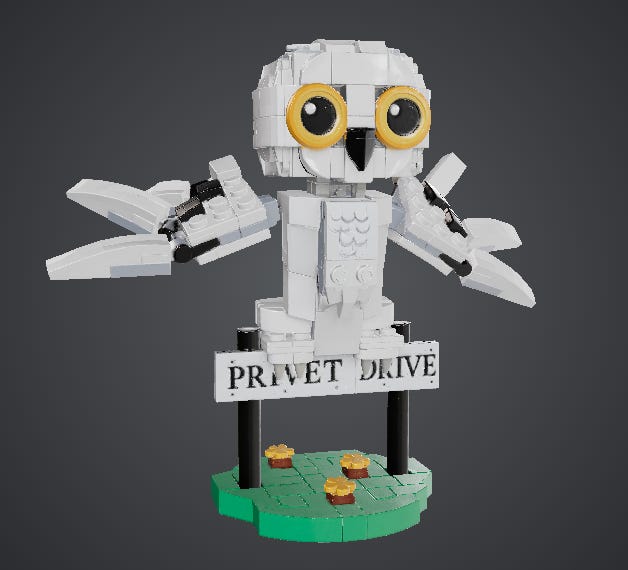
Test 2: LEGO Hedwig
I took my daughter’s LEGO figure of Hedwig from her room and snapped a picture.
Reference image:
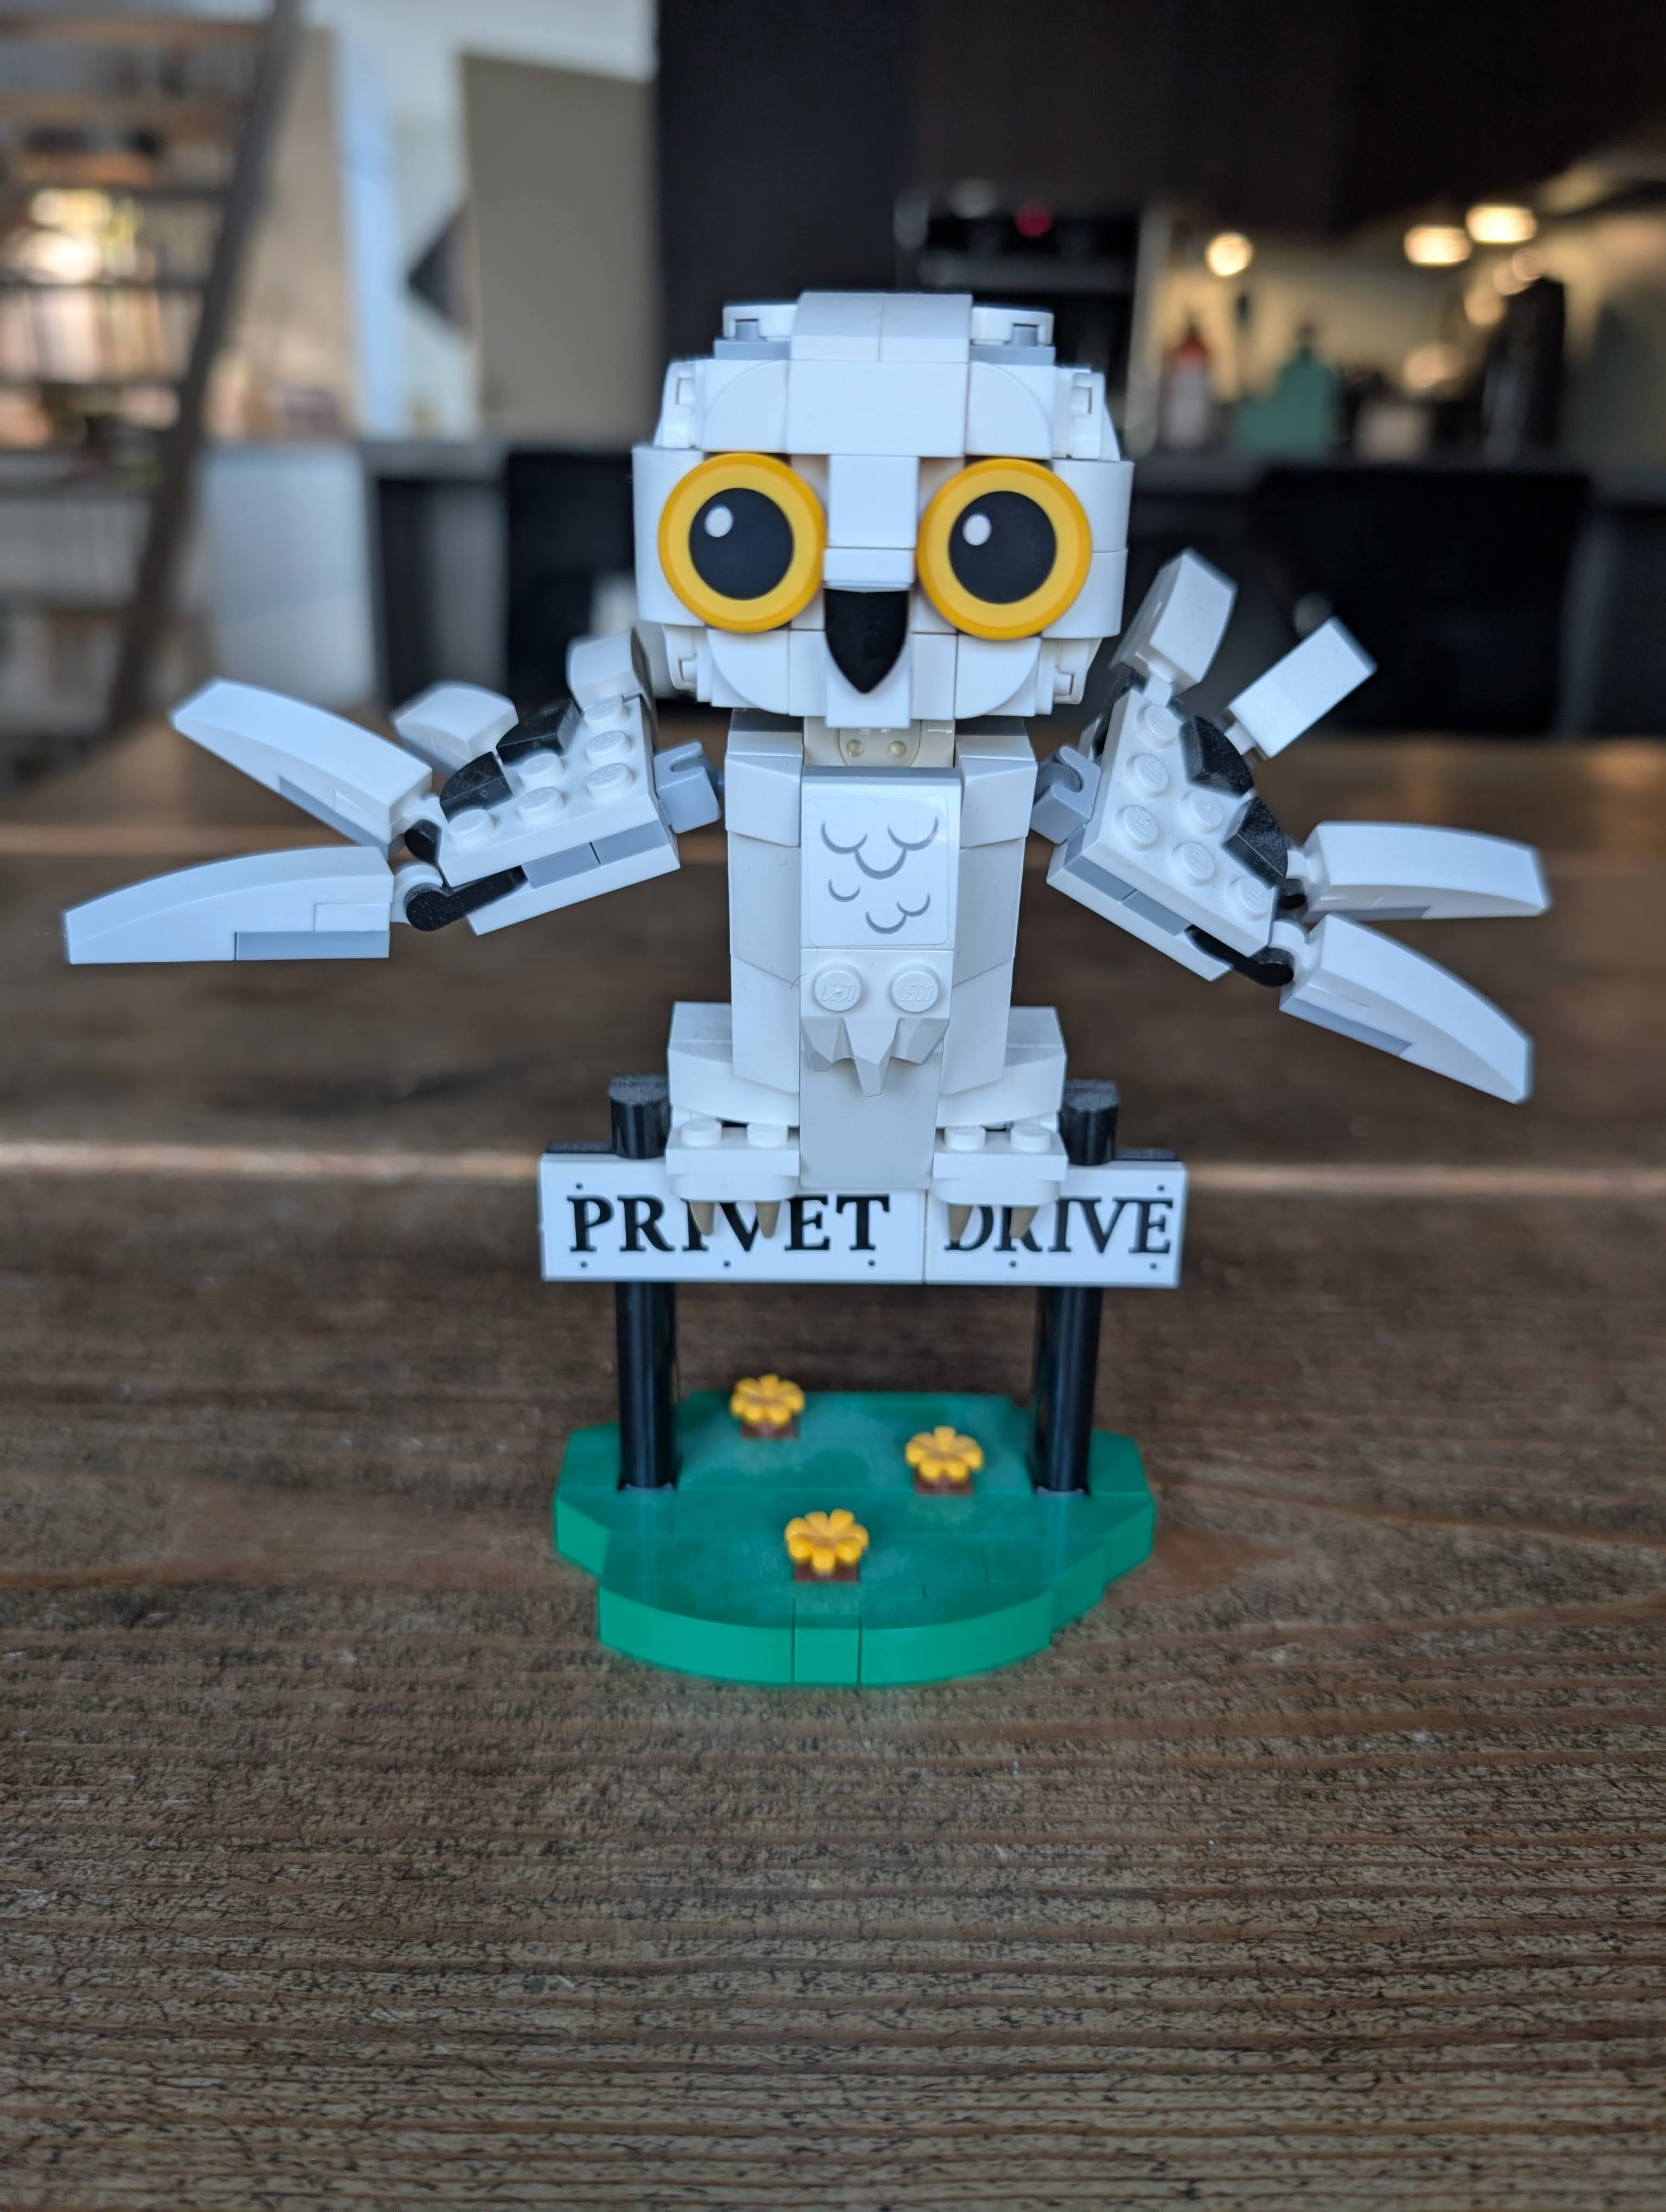
This one felt like a challenge since it had lots of blurry background noise, and I wondered how the model would handle it.
Final 3D asset:
If you want to view, zoom, and rotate the finished 3D render, here you go:
Tripo vs. Copilot:


To explore Copilot’s 3D render on your own, follow this link.
Verdict:
Turns out the model had no problem isolating the object from the background.
I also half-expected it to butcher the text and lose sight of the details for unseen elements. But, considering it had no additional angles to go on, it did pretty damn well. Here’s a side-by-side view of the 3D render vs. actual photo from the back:


One can get nitpicky about the missing tail and the hallucinated pieces, but, again, the model had no actual photos of this angle to go on.
What stands out here are the material handling and PBR effects: The glossy eyes reflect the light differently compared to the matte plastic of the other pieces. (To truly appreciate this, you should try rotating the full 3D asset.)
It also nailed the “Privet Drive” text, which might seem trivial until you compare it to Copilot 3D’s result.
Test 3: Vase of flowers
It’s, you know, a vase with flowers in it. Here:
Reference image:
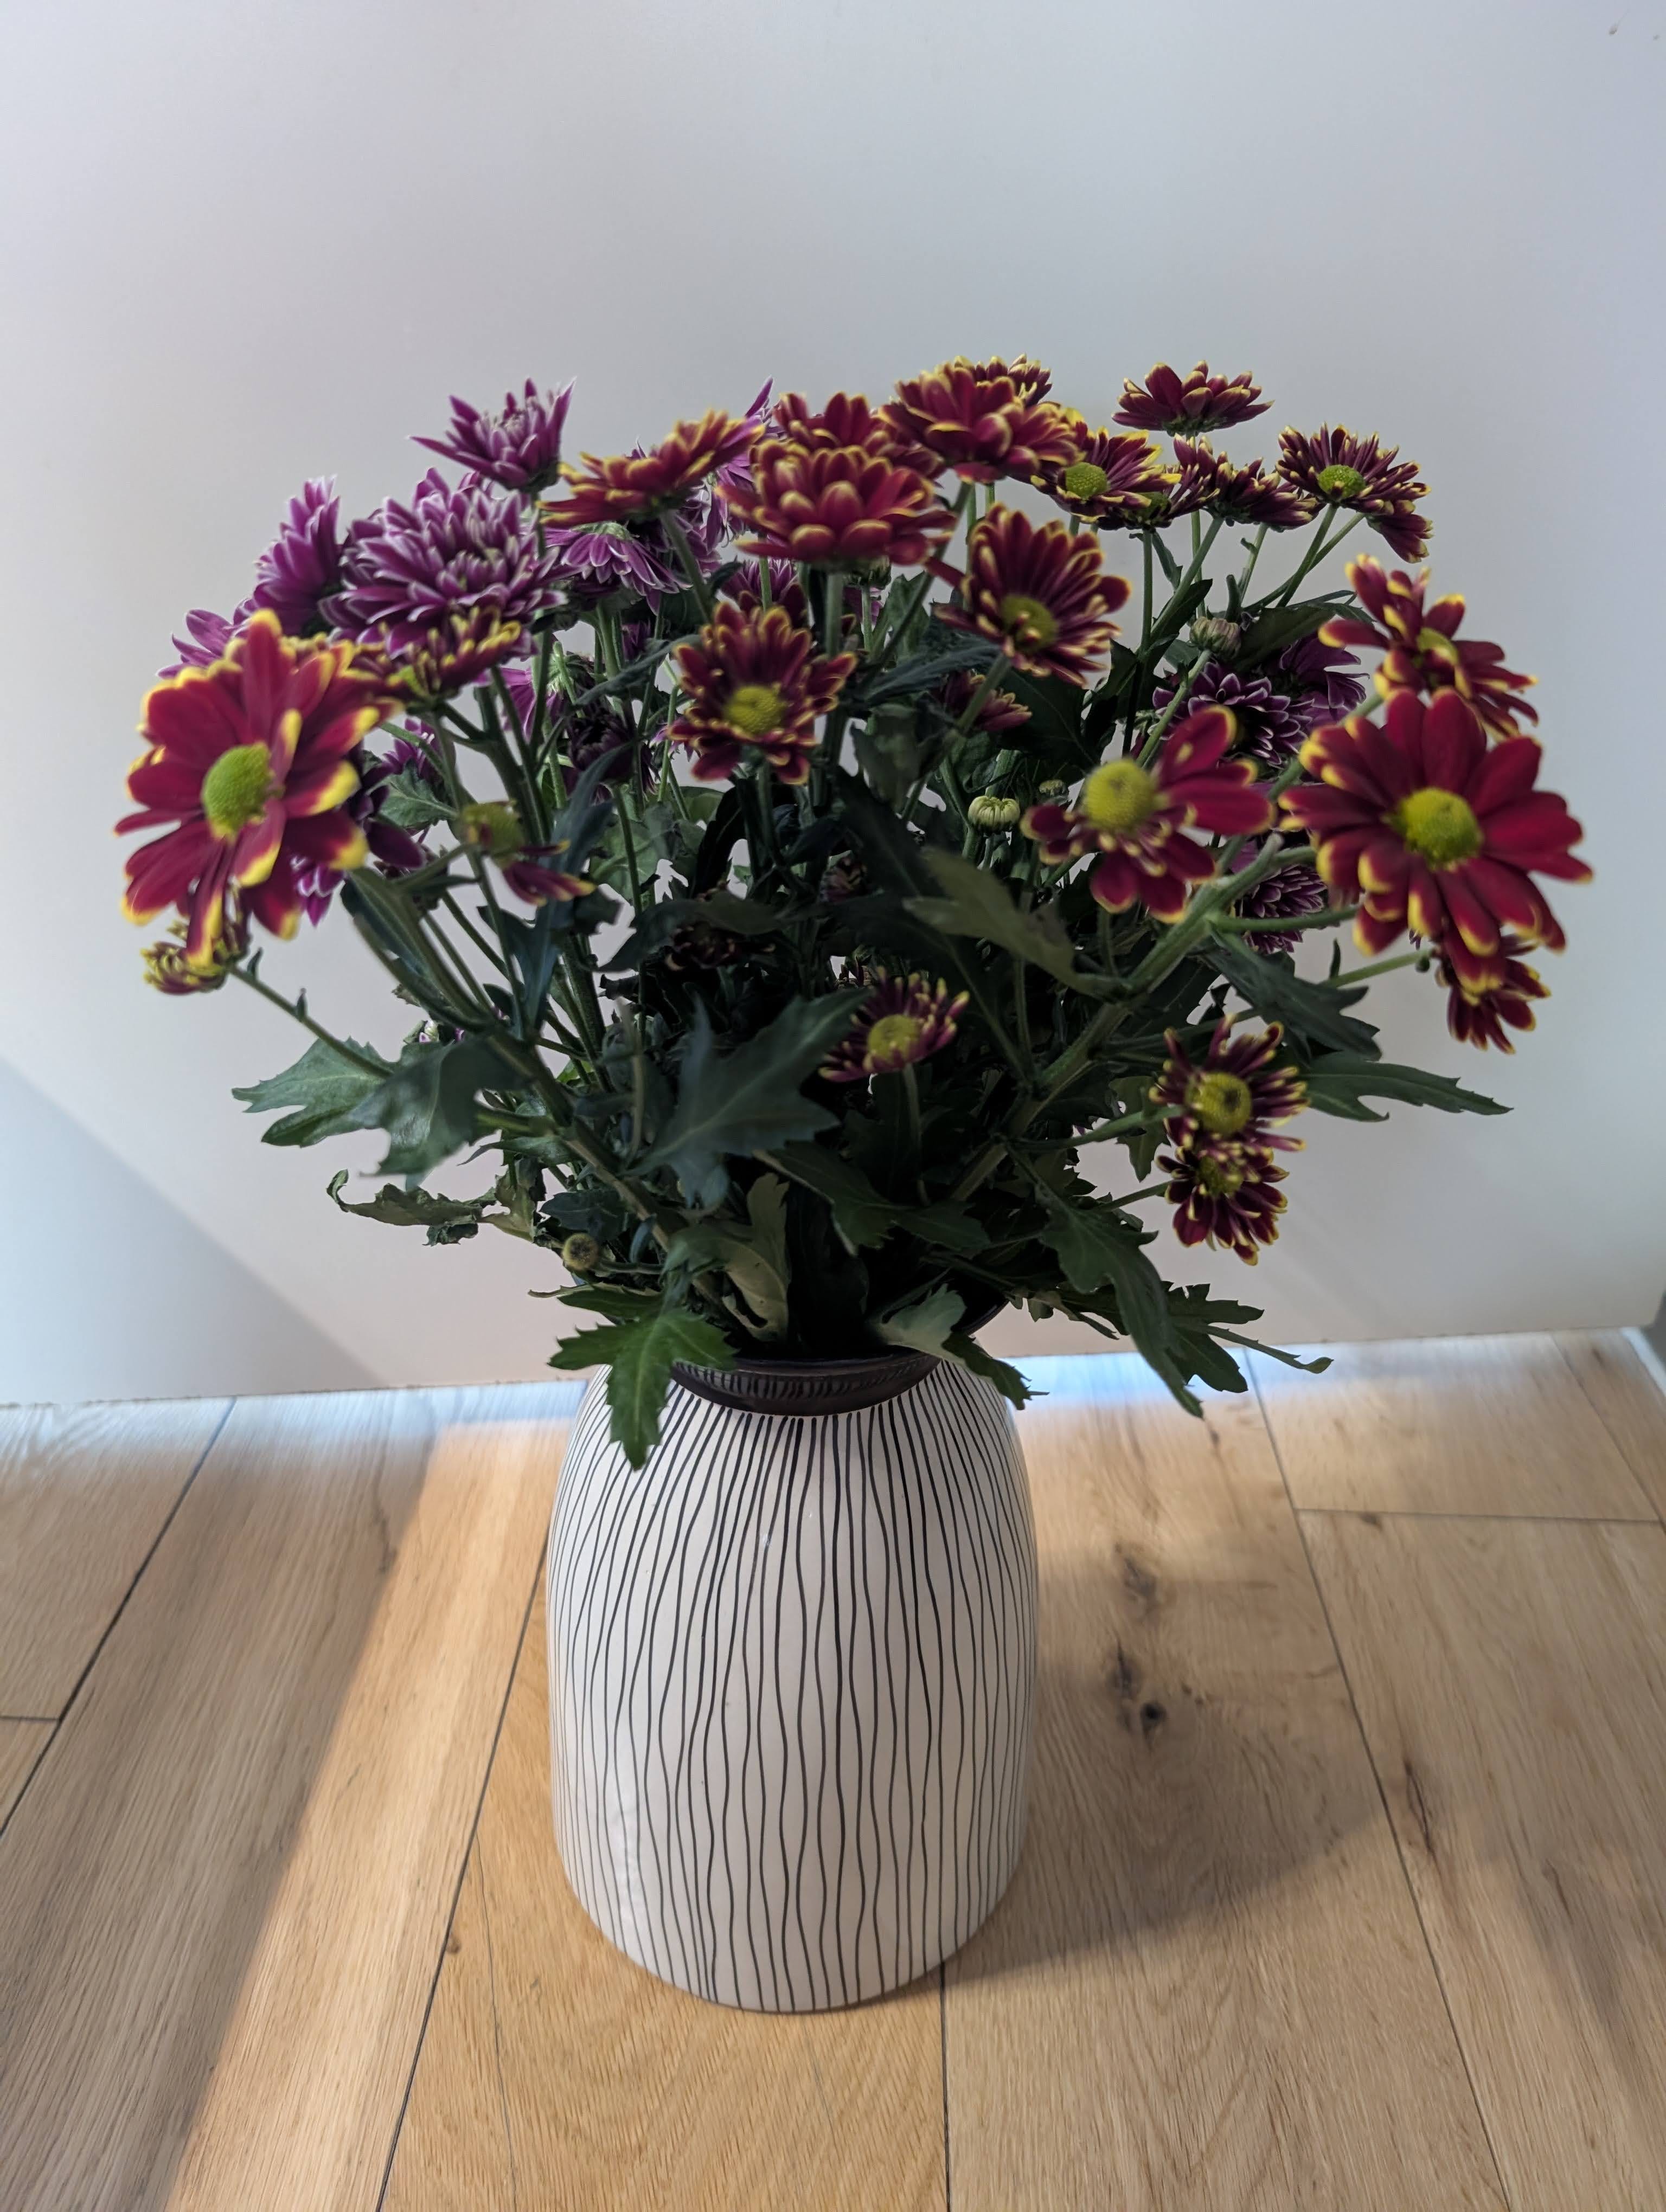
It’s set against clashing colors of the floor and door, so let’s see how it turns out.
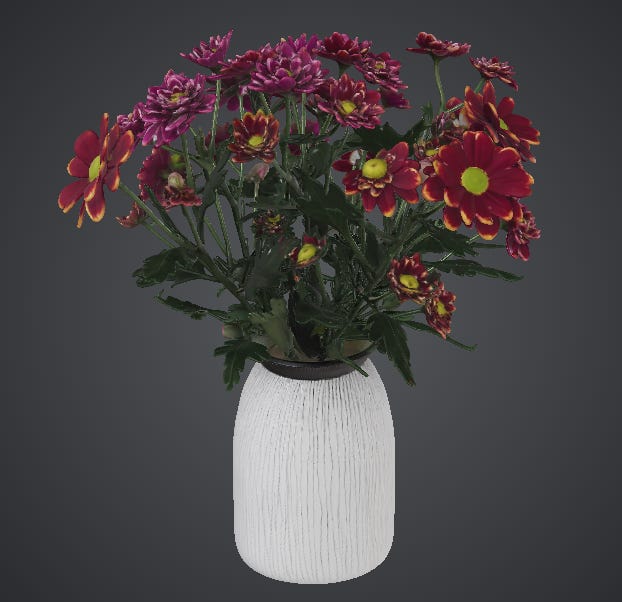
Final 3D asset:
If you want to view, zoom, and rotate the finished 3D render, here you go:
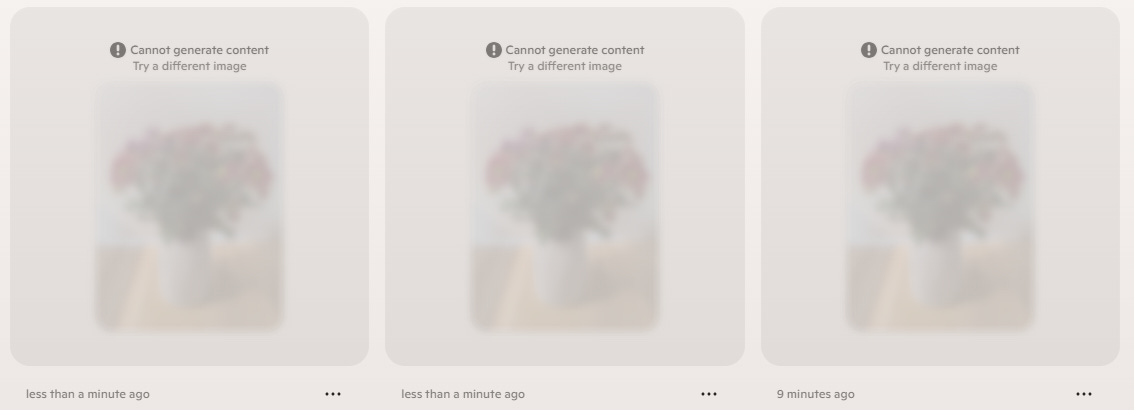
Tripo vs. Copilot:
I wasn’t able to make a side-by-side comparison here because Copilot 3D repeatedly refused to generate this image altogether:
Verdict:
That mostly checks out.
Although the 3D model is missing some detail and flower density:


This was perhaps the trickiest test as there are so many intricate minor elements in a vase of flowers, from individual petals to intertwining stalks.
The vase itself looks great, with cleanly-mapped striped texture, even if it’s not 100% aligned with the photo. A chaotic bouquet with dozens of intertwined stems pushes past what such models can faithfully render.
General observations
HD Model V3.1 did above my expectations on Pebbles and Hedwig with its ability to handle unseen angles, spelling, textures, and PBR light reflections.
The vase holds up well in terms of overall coherence but loses on individual flower detail, especially where the source material was missing.
Generations tend to take around 3-4 minutes at my maximalist setting (“Ultra” quality, “PBR” switched on, etc.). For a tool that turns a single smartphone photo into a rotatable and exportable high-definition 3D asset, that feels like a solid feat.
While it’s not going to completely replace professional 3D sculpting, it’s orders of magnitude above the “fun toy” feel of the Copilot outputs.
Who’s this for?
The short answer is that 3D assets are typically used by game designers or as part of a broader 3D production pipeline.
For these professionals, a 3D tool like this typically speeds up the early stages, from rapid prototyping to concept visualization. We’re talking about:
Game assets: Characters, items, scenery, etc.
AR/VR experiences: Creating 3D objects to populate the virtual world.
3D design: Printing physical 3D prototypes to test functionality in the real world.
But I don’t design games, and I’m guessing most of you don’t either.1
So here are a few areas where we mere mortals might use a 3D rendering:
3D printing: You can send your rendering straight to a 3D printer and get a scale replica of your cat, dog, or house plant. (Or something actually useful, I guess.)
E-commerce: If you sell stuff online, image-to-3D models can turn a flat product shot into a 360-degree rotatable model that your customers can interact with.
AI art to 3D: Pick one of the countless AI image models and generate any character you want. Then turn your AI image into an AI 3D asset.
Just for fun: Turn your kids’ drawing of a monster into a 3D character they can interact with, or turn your friends into game characters.
How do you get started?
It’s pretty simple.
1. Head on over to Tripo Studio:

2. Upload your reference image:
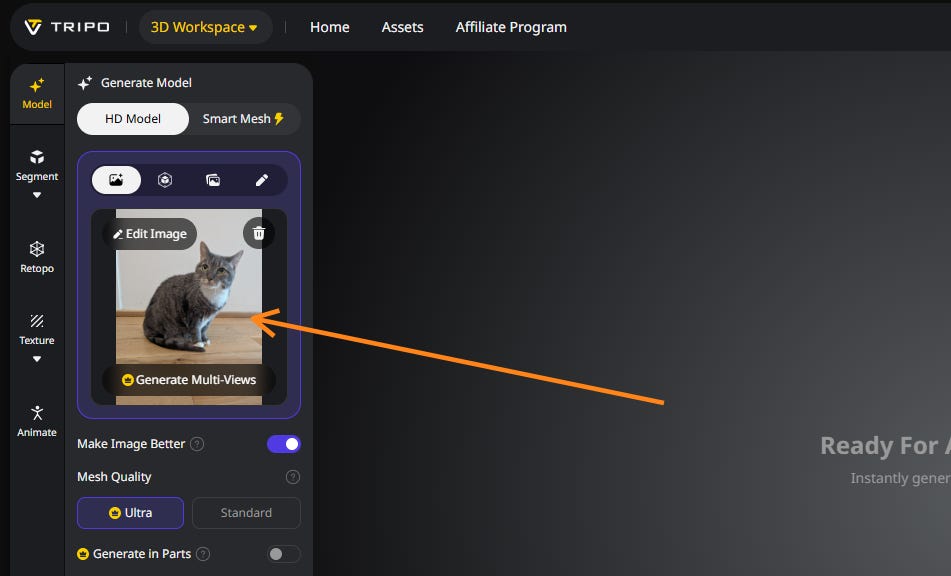
If you don’t happen to have any pictures of my cat Pebbles, you can use different images or photos, including those of other cats.
3. Generate a multi-view grid (optional)

This one splits your image into front, back, and two side views:
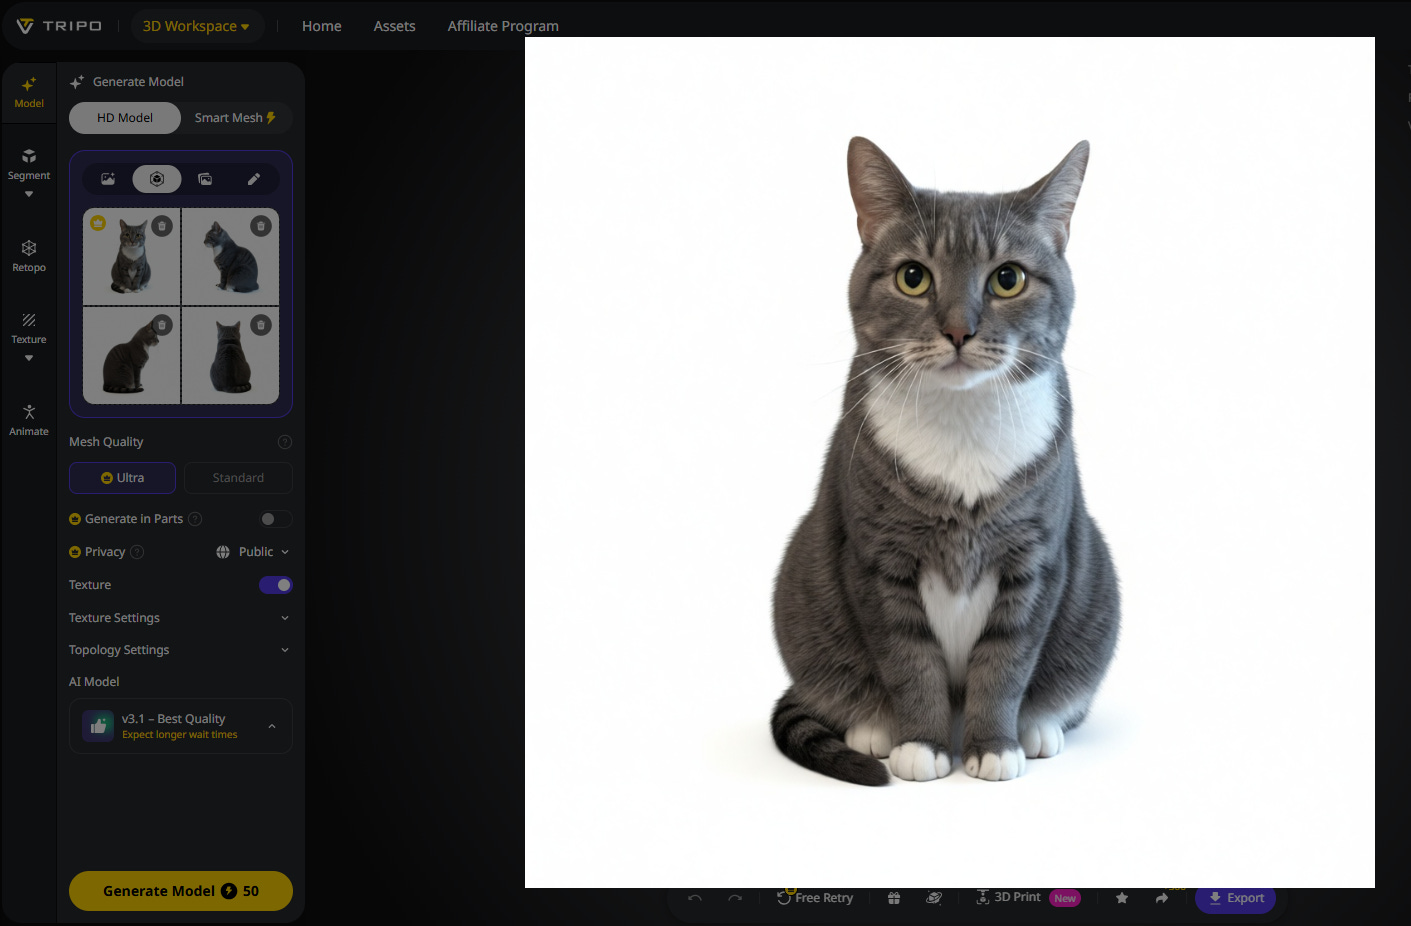
As a side benefit, this step lets you preview multiple angles before generating the full 3D render, so you know if the model is on the right track.
But you can also skip this step and move straight on to…
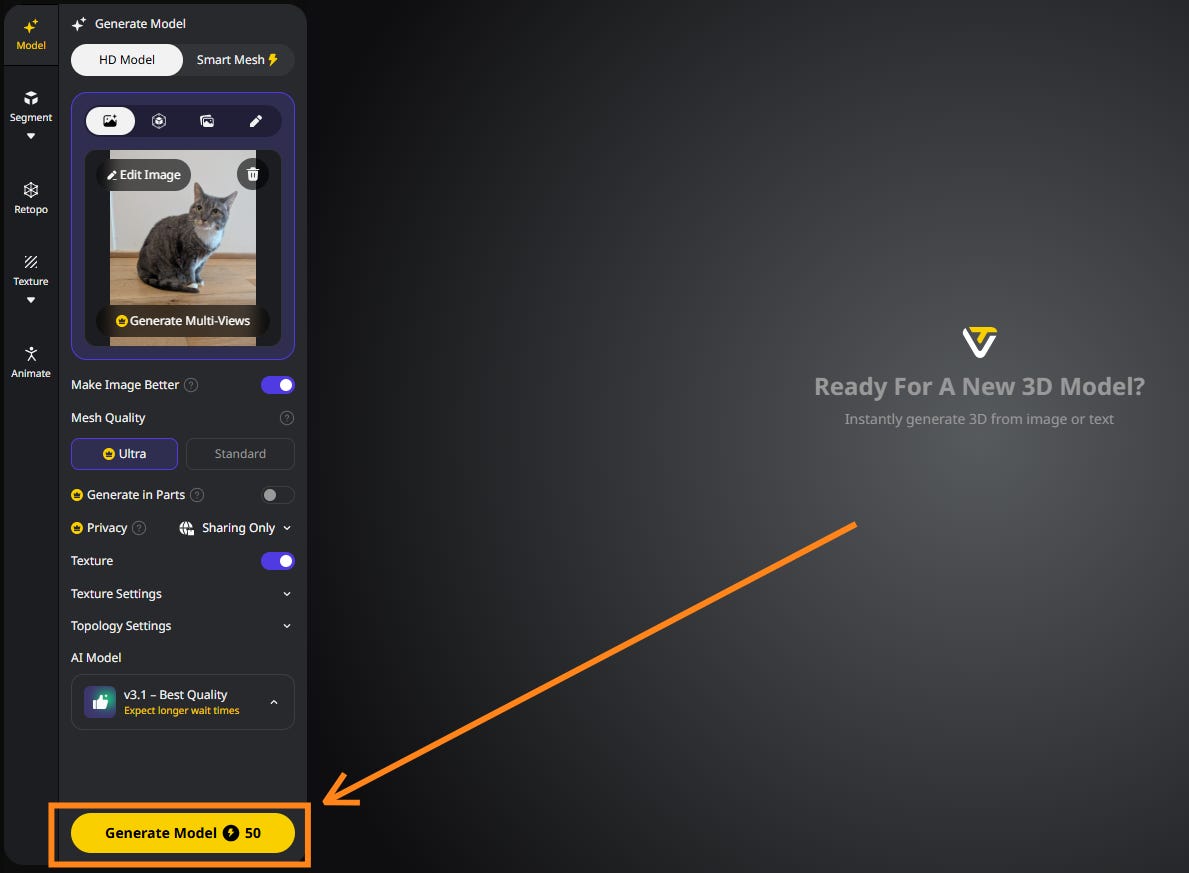
4. Generate your 3D asset
There are a few optional settings to tweak, but whenever you’re ready, you hit “Generate Model” to kick off the process:
While your asset is generating, you’ll see a tentative point cloud version that you can rotate and inspect:
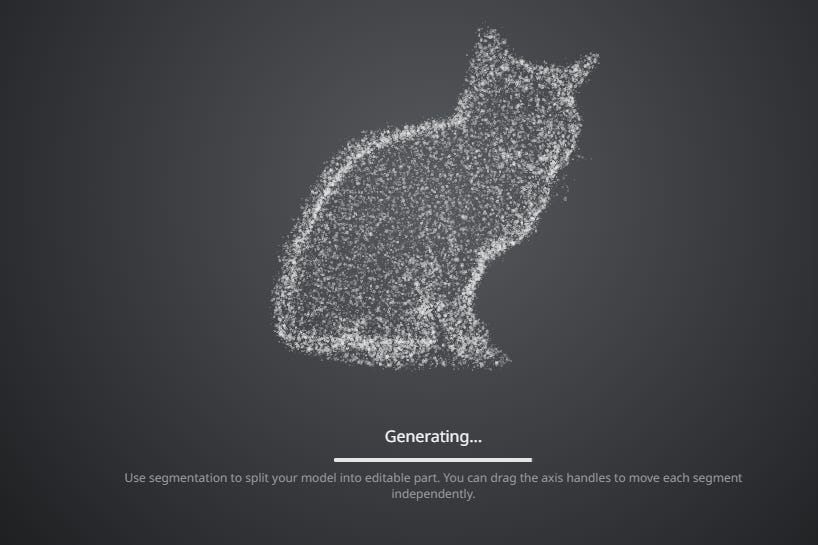
After some time, the model comes back with a 3D asset for you to work with.

That’s it!
Tripo AI has a free tier, so you can take it for a spin right here:
Thanks for reading!
If you enjoy my work, here’s how you can help:
❤️Like this post if it resonates with you.
🔄Share it to help others discover this newsletter.
🗣️Comment below—I love hearing your opinions.
Why Try AI is a passion project, and I’m grateful to those who help keep it going. If you’d like to support me and unlock cool perks, consider a paid subscription:
This post is sponsored by Tripo AI, who also provided me with a free premium account to try the features. Test examples and opinions are my own.
If you do regularly work with 3D assets, I’d love to hear how AI models like Tripo might fit into your process.
thats pretty awesome and I'm pleasantly surprised that while Co-pilot isn't as good as Tripo it doesn't suck either.
I'm now using NotebookLM + a bot army to teach my High School CS class. When I loaded up all the sources I noticed new options in the Studio - including VIDEOS!
I created a short one for class Wednesday and they were mesmerized. I may have cracked the attention span of 16yo's. I made a longer one for today's class (7 minutes v 2minutes) so I'll see how magical video really is.
While they aren't 3D, the videos are arguably more impressive than the viral podcasts a year ago. It's a kick using AI to teach this class - we're horribly behind and AI is going to save us.